Page 4 of 6
Re: Drive Well Project
Posted: Fri Dec 17, 2010 10:39 pm
by CC TX
PiratePete wrote:I only glued the E & E2 parts together this morning & cant get a picture of it for you. I have been wracking my brain on how I can set it up to machine the recesses in them.
The way that I did it was to clamp the two together (the two E's facing each other), set it up on the drill press and drilled a 1 1/8" dia hole 5/8" deep, followed by a 3/4" dia hole total depth 1 3/8" deep. Unclamped the two halves; and, drilled the holes for the hold down bolts.
I'm not sure if it is necessary; but, I drilled the drum shaft cradles oversized. I later filled in around the drum shaft with thickened epoxy. (I covered the drum shaft with teflon tape to prevent the epoxy from sticking.) I was concerned that if I only drilled a 1/2" dia. hole, coated it with epoxy; and, if the epoxy becomes worn, water may get into the wood.
An alternate method to filling in around the drum shaft, fill in the 3/4" dia hole areas (separated Part Es) with thicked epoxy. After the epoxy cures, reclamp the two halves together, and drill a 1/2" dia hole to a total depth of 1 5/16".
Re: Drive Well Project
Posted: Fri Dec 17, 2010 10:51 pm
by CC TX
PiratePete wrote: I have pretty well worked out how to do the hod down clamps. I have a sheet of aluminium that I am going to make my rudder blades out of & intend to make a washer out of it & have some ply with the groove in it & use a 10mm s/steel bolt & wing nut. I will put a tie wire through the top of the bolt so the nut wont come off.
I will see if I can do a drawing for you.
This looks like it should work well. It will probably take a few seconds more to install or remove the drive as compared to Hobie's cam lock knobs; but, it should secure the drive very well..
Re: Drive Well Project
Posted: Fri Dec 17, 2010 10:56 pm
by CC TX
PiratePete wrote:What time zone are you in.
Tasmania, Australia is on UTC + 10 & at the moment we are in day light savings so its UTC + 11
I am in US Central Standard Time or UTC - 6. It is now 8:56 PM, Friday, Dec. 17, 2010.
Re: Drive Well Project
Posted: Fri Dec 17, 2010 11:54 pm
by PiratePete
CC TX wrote:The way that I did it was to clamp the two together (the two E's facing each other), set it up on the drill press and drilled a 1 1/8" dia hole 5/8" deep, followed by a 3/4" dia hole total depth 1 3/8" deep. Unclamped the two halves; and, drilled the holes for the hold down bolts.
I'm not sure if it is necessary; but, I drilled the drum shaft cradles oversized. I later filled in around the drum shaft with thickened epoxy. (I covered the drum shaft with teflon tape to prevent the epoxy from sticking.) I was concerned that if I only drilled a 1/2" dia. hole, coated it with epoxy; and, if the epoxy becomes worn, water may get into the wood.
An alternate method to filling in around the drum shaft, fill in the 3/4" dia hole areas (separated Part Es) with thicked epoxy. After the epoxy cures, reclamp the two halves together, and drill a 1/2" dia hole to a total depth of 1 5/16".
I am thinking along the same lines but I dont have a drill press with a vice to hold ever thing in the right spot. I might have to ring a few mates & see what they have. . . . .
Re: Drive Well Project
Posted: Wed Dec 22, 2010 2:37 am
by PiratePete
I had re-glued my drive well back together the other day into 2 halves. Glued the "wings" on for the hold downs, cleaned up all the parts & tried it around the Drive today.
It looked good & I was thinking of ways to glue it together & then it happened.
I dropped 1/2 of it on to the concrete floor & smashed the thing to bits

I think what I will do is glue that bit back together & make up my hold down washers, sit it around the drive & then tack the well together. Then once its dry I will wrap it with glass to strengthen it all up.
Re: Drive Well Project
Posted: Fri Dec 24, 2010 12:26 am
by PiratePete
Did a bit more on my drive well today. No epoxy work as my father in law is very allergic & he will be here for Christmas tea tonight.
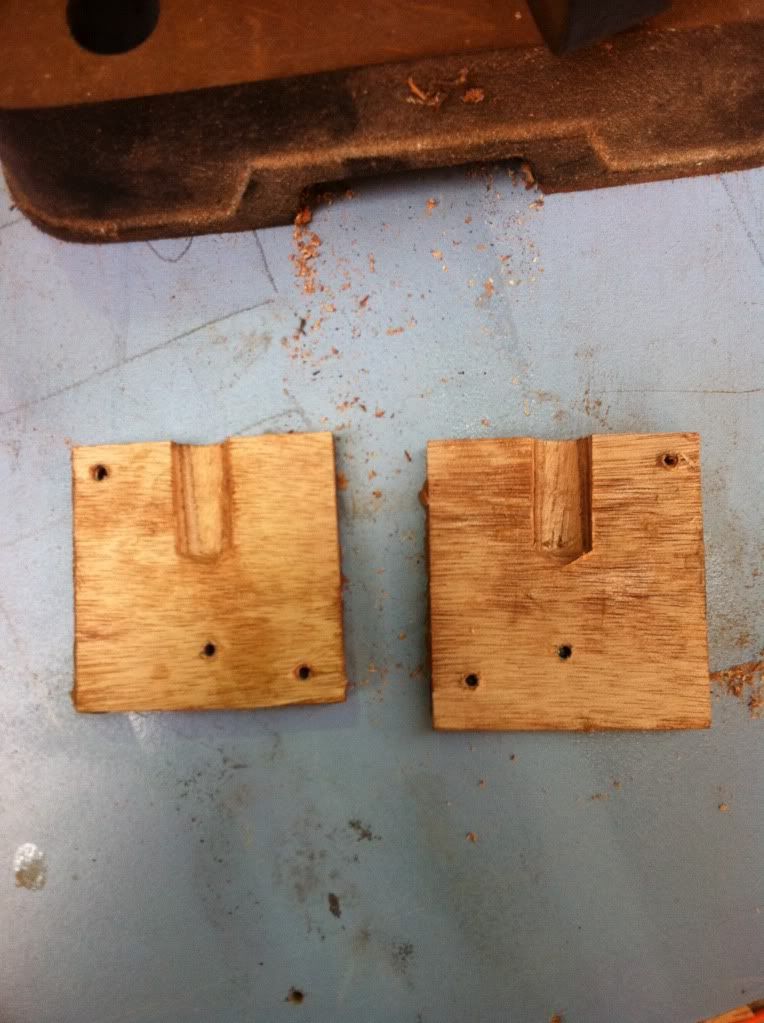
I set up my drill press & drilled the resess for the hold down washers.

Drilled them & they came out like this
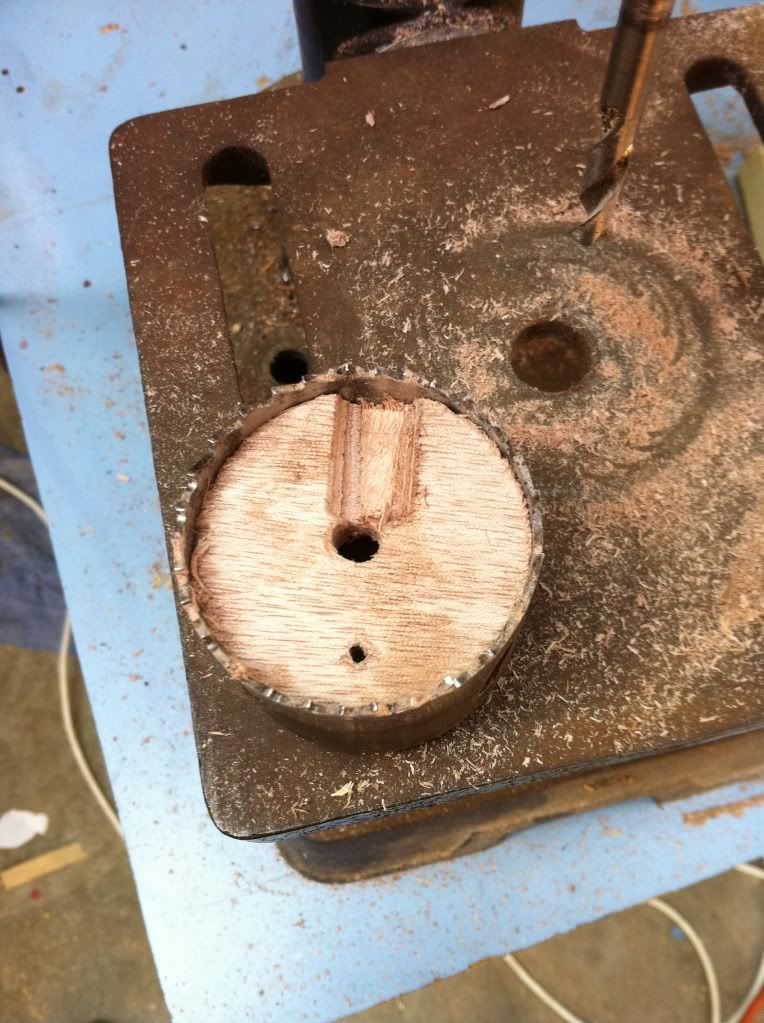
Then set up again with my largest hole saw.
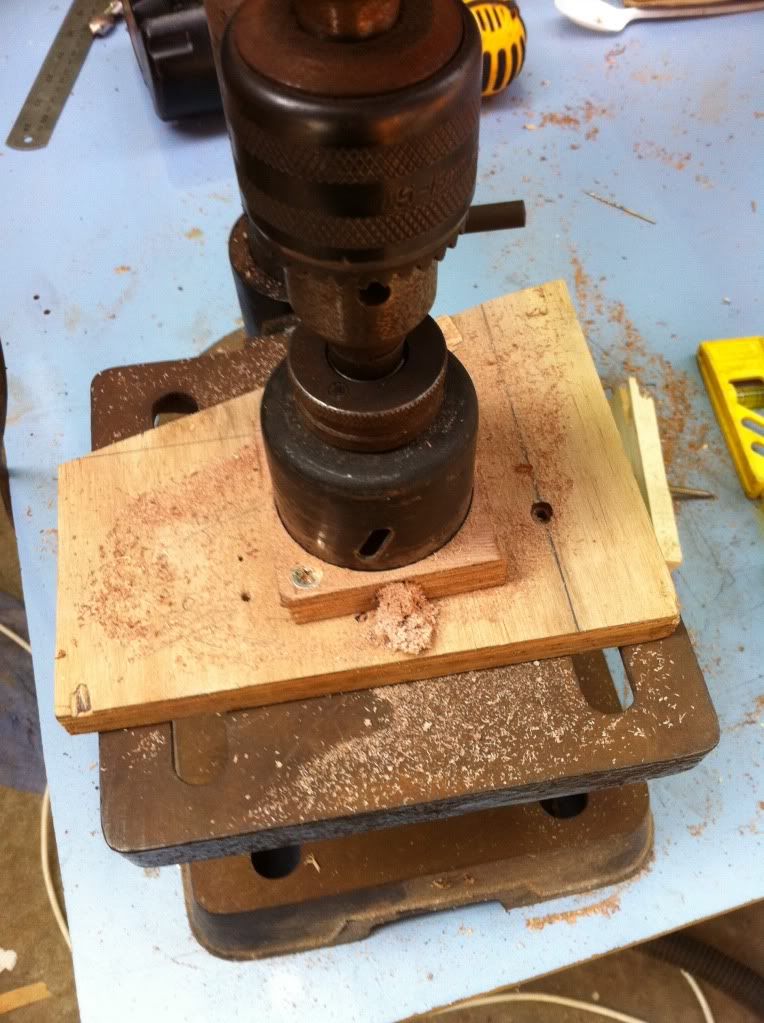
54mm so I ended up with a 50mm washer
I also drilled the ally washers at the same time.
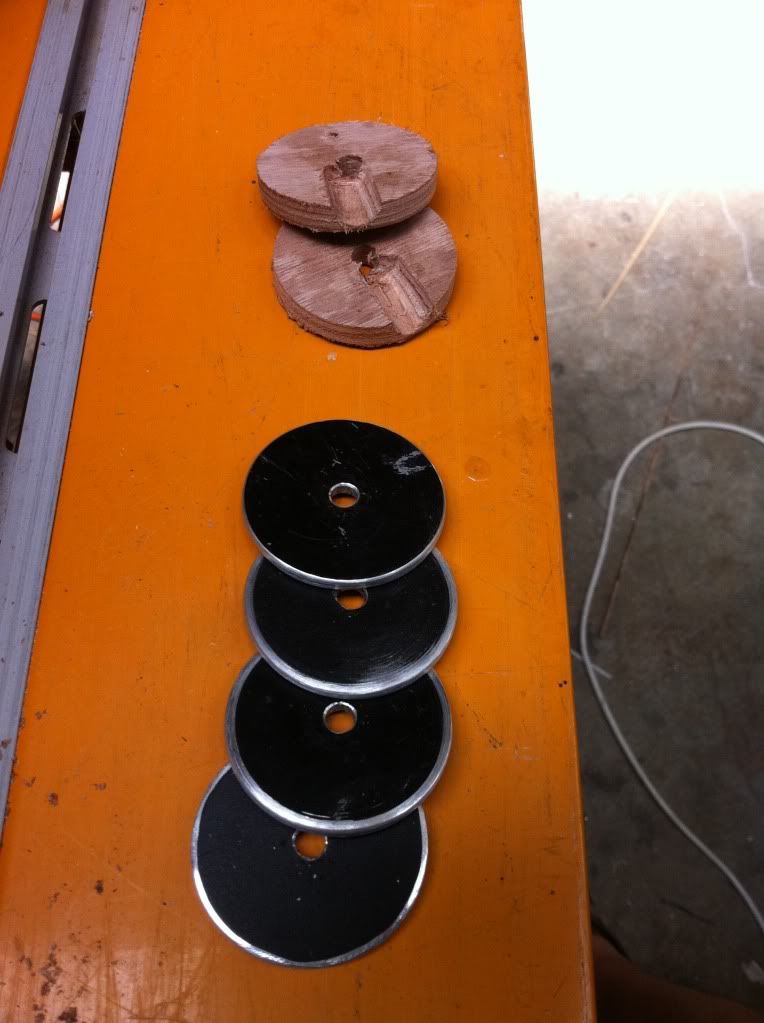
I intend to sand the ally back to "key" it & then epoxy them to the ply ones & cut the slot into the lot to allow the drive to be removed with out having to take the washer right off the bolt.
Re: Drive Well Project
Posted: Fri Dec 24, 2010 10:22 am
by CC TX
CC TX wrote:The way that I did it was to clamp the two together (the two E's facing each other), set it up on the drill press and drilled a 1 1/8" dia hole 5/8" deep, followed by a 3/4" dia hole total depth 1 3/8" deep. Unclamped the two halves; and, drilled the holes for the hold down bolts.
I started on another drive well, made parts E and E2, and unloaded some pictures.
http://www.picturetrail.com/sfx/album/view/23618332

Re: Drive Well Project
Posted: Tue Jan 18, 2011 6:46 am
by CC TX
PiratePete wrote:
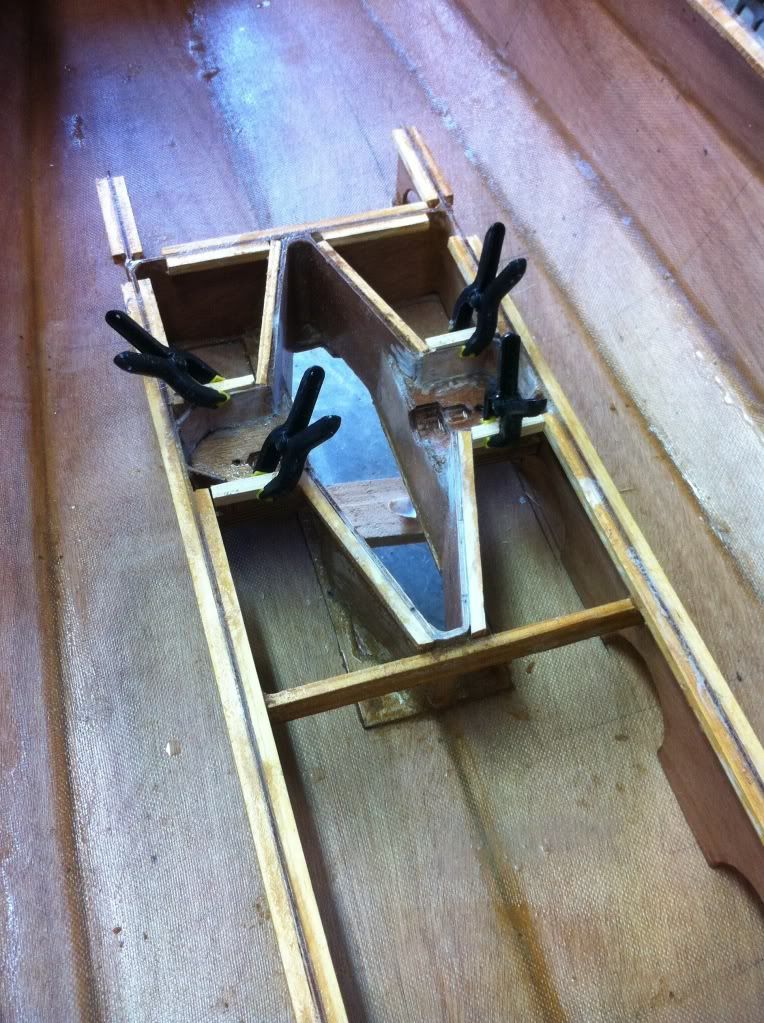
From the above picture, it appears that you may have cut the base and the hull larger than the plans. The opening in the hull and the base should be a maximum width of 2 1/2". I designed it this way to increase the strength of the drive well / hull, minimize the hull opening, and to provide a stopping point for when the fins are up against the hull. Yours may be ok still; I just don't know.

Re: Drive Well Project
Posted: Tue Jan 18, 2011 5:03 pm
by PiratePete
I just measured the gap again David & Im a bit less that 1/16" wider than the 2 1/2" but that might explain why I had a slight rub on the front pulley as it look I have the whole well a bit narrow.
The drive fits well & now doesnt rub any where so I think it should be OK.
Re: Drive Well Project
Posted: Tue Jan 18, 2011 8:14 pm
by CC TX
Yes, it should be ok. I didn't notice the hull / base ledge on your picture earlier. I see it now.
For the rub on the front pulley; I have also noticed a slight variance in dimensions of the four Hobie drives that I have / had. One of the drives also had the drum shaft noticeably off center. I adjusted it to be centered; otherwise, I would have had a rubbing problem. Even though yours is no longer rubbing, do you think that I should increase the width of the drive well; or, did you just make it too narrow?