Dan's Pelagic

Builder show and discuss their progress.
AlohaDan
Posts: 293
Joined: Sun Apr 15, 2007 9:36 pm
Type of boat I like: <-- Please read instructions to the left and delete this text. Then, tell us what type boat you like! :-)

Post by AlohaDan »

Had to finish the operating table. Wanted to see what different material released. So this is a composite of an underlying wax paper, overlaid with plastic and some masking tape. All three touched butt joint, construction of which was another reason for testing.

Image

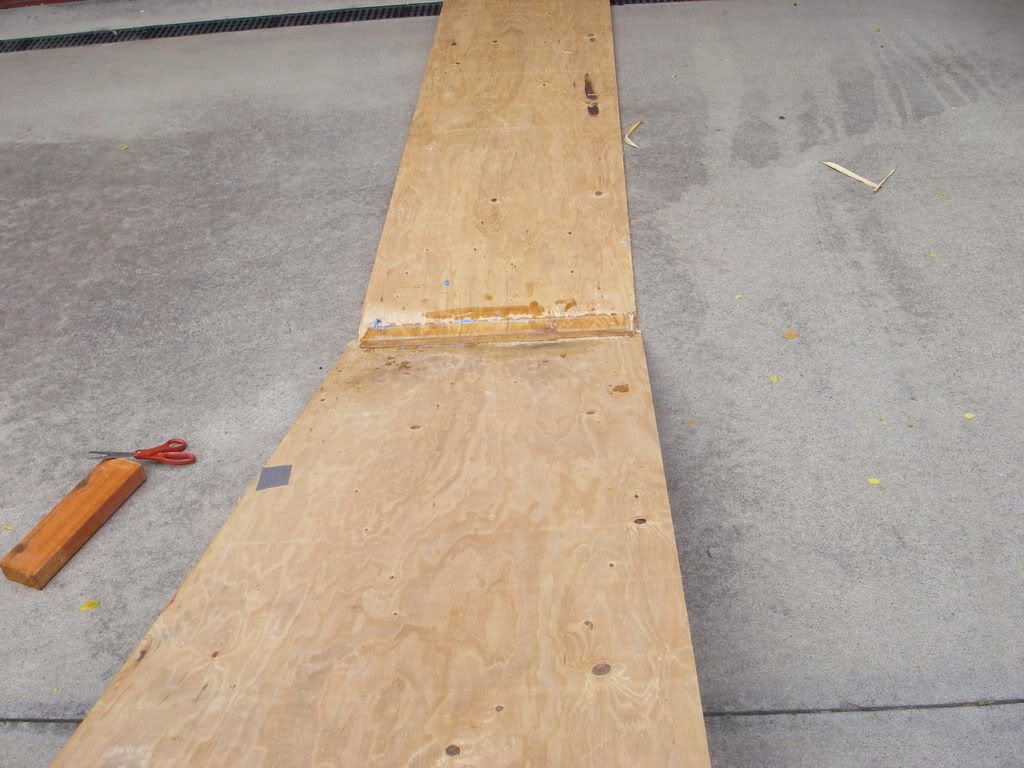
All three released and the butt joint didn't seem too atrocious.

Image

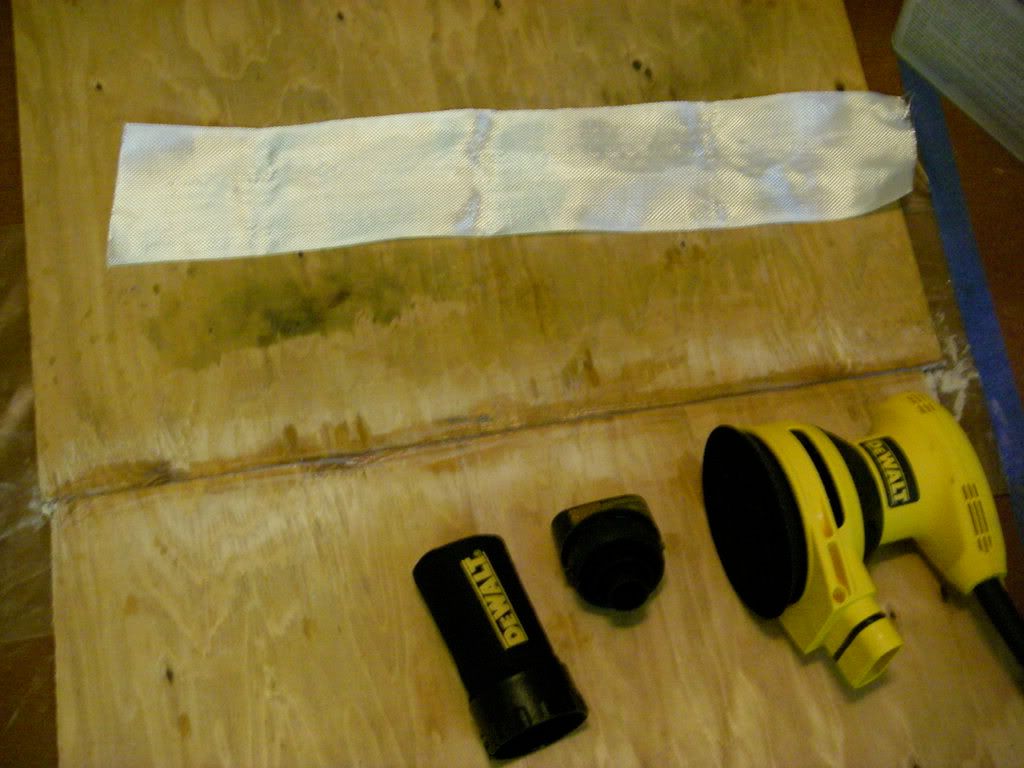
Pictured is my new Dewalt sander. Note they have configured the attachment so the bag can be taken off and the sander hooked up to a shop vac. If you have the old sander, the exhaust port will probably still take the new attachment. You should be able to get it.

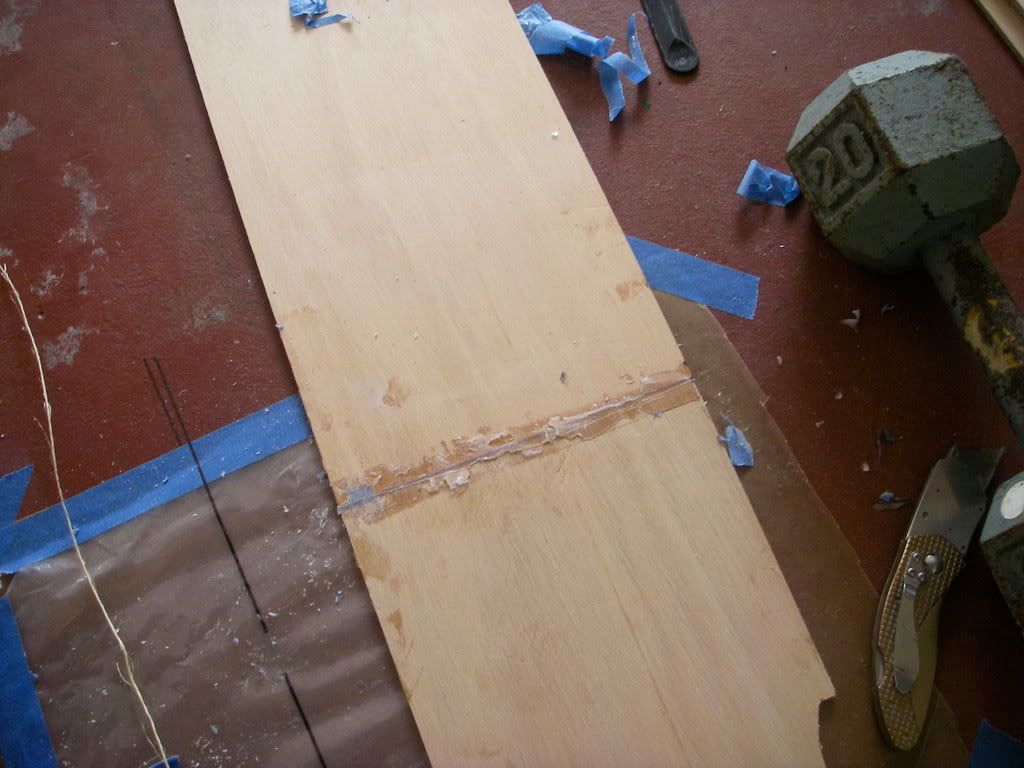
The tape is there to be glassed over the butt joint. I needed to see how much epoxy this size tape would take. (will orient length wise for yak) This also made me think on how to setup a sequence for doing the butt joints. So based on my preliminary butt success with the table top decided to two pieces at once.(Matt recommended only one for first try, but table effort said to me you can do more).

Image

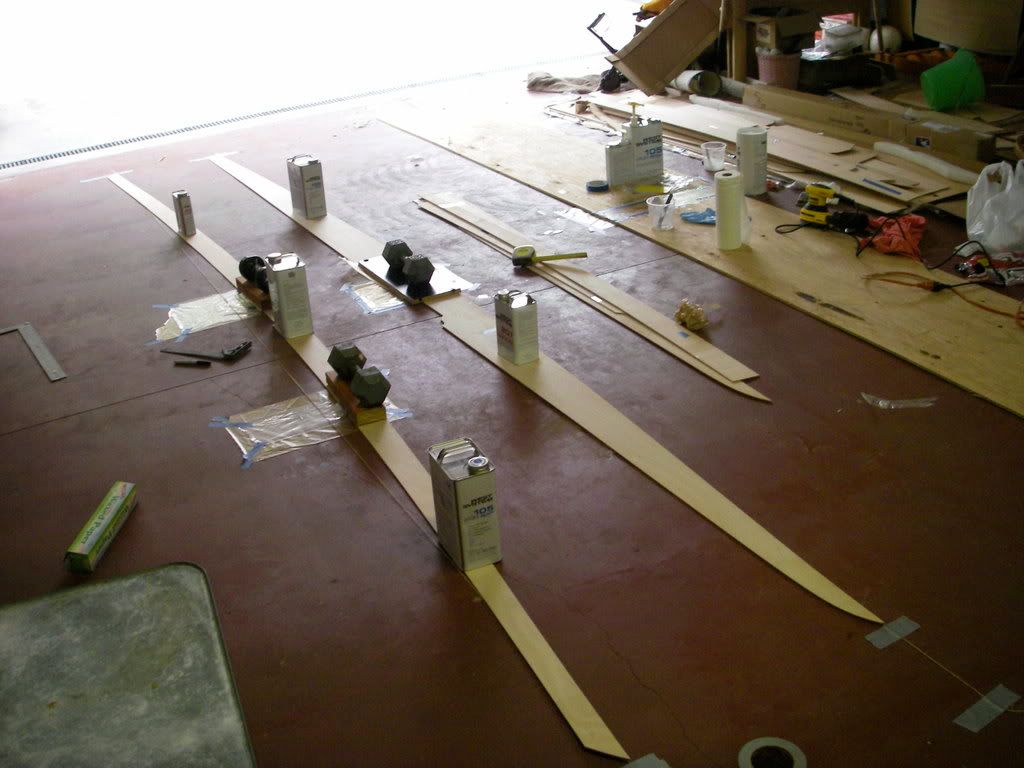
So I glassed the table, rag wiped piece 1 & 2, then used the leftover to mix in West Systems Colloidal Silica. I had two friends with wood shops so could have gotten flour, but choose to go with 100% West products for a small cost increase.

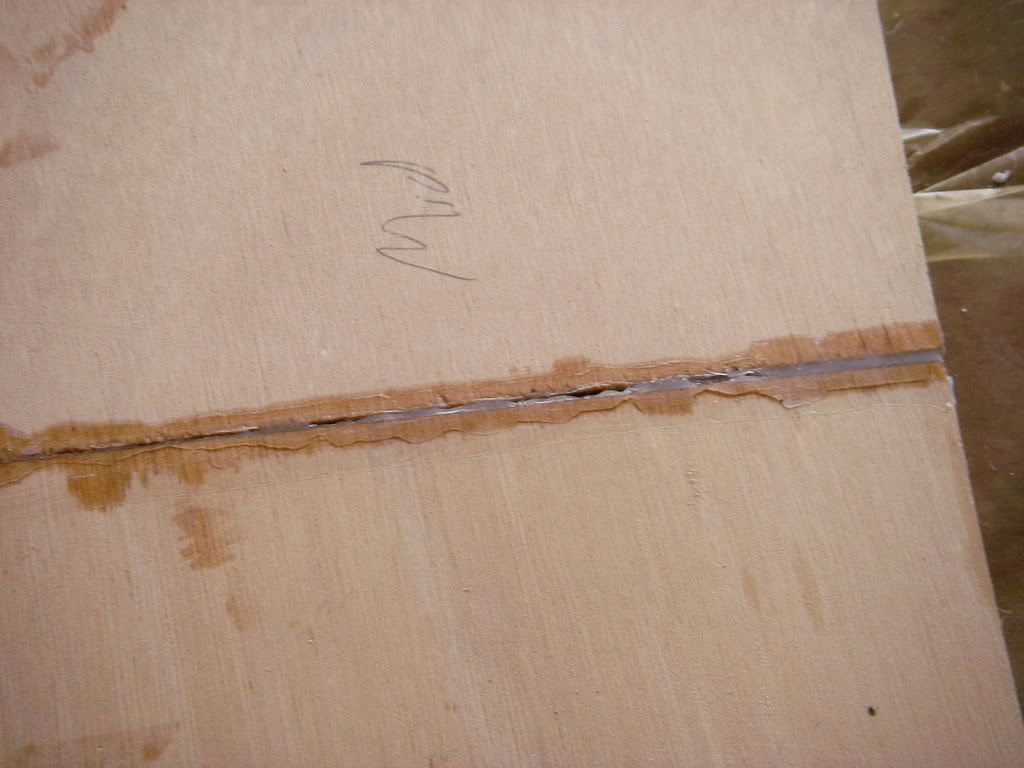
I had read Hank's thread and taped off the joint so I didn't get excess. Grinding down the table top joint was enough to convince me to get rid of/reduce excess epoxy.

So once I glass both sides of the first two pieces I figure I can do like Hank and build the mirror copies on top, while I butt joint two new other pieces, always doing a glass op first and adding silica for the butt joints waiting in the wings.

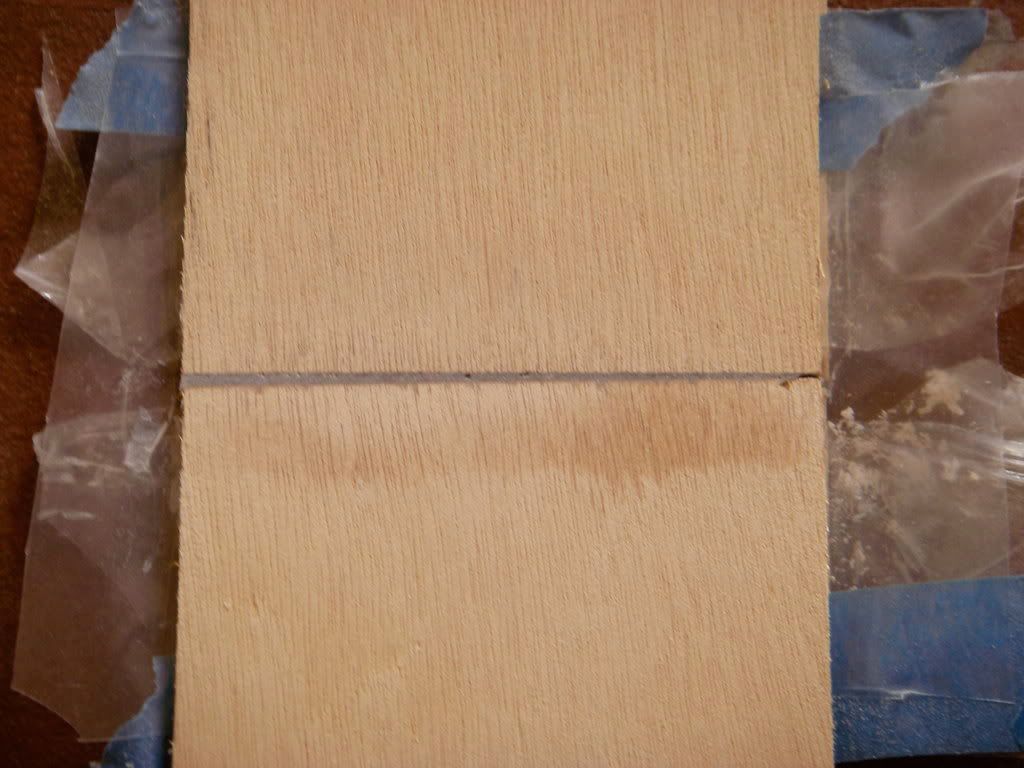
Here's the first two:

Image

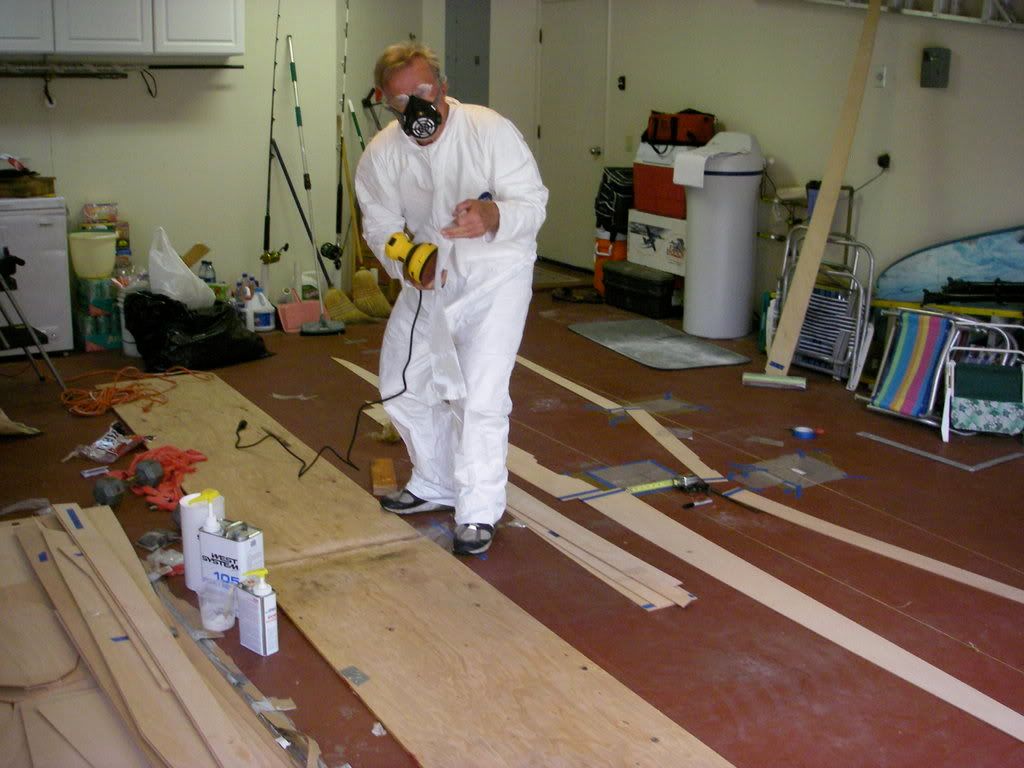
Then this crazy guy testing a Tyvek safety suit ($6.50) and breather mask took over the shop, forcing me into Martini time.

Image

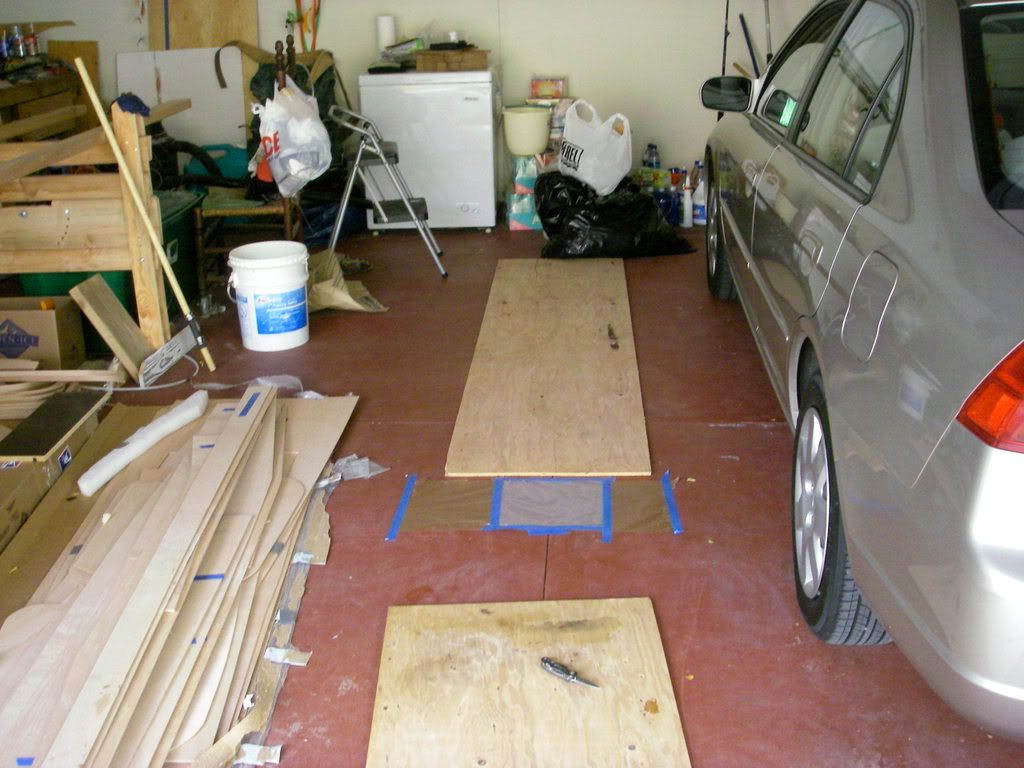
The place looks disorganized. But my wife won't release her closet cart for the project. It stands five feet high has wheels, and wire baskets. Part of those wire closet systems you buy. Would be perfect. But I can't find the carts anymore. Not at Wally or Lowes anyway. Suggestions?
Manjimike
Posts: 146
Joined: Fri Aug 25, 2006 7:28 am
Type of boat I like: <-- Please read instructions to the left and delete this text. Then, tell us what type boat you like! :-)
Location: Manjimup, West Australia

Post by Manjimike »

Looking good Dan :D
When you said about a September finish, I thought "That's what they all say, but once they get started on the project, they want to get it on the water" :lol: :lol:
Post as many pix as you can please because this is the one I want to build.
I have already purchased my mirage drive from the USA and it needs to get into a boat - it is feeling high and dry :lol: :lol:

Cheers Mike
jem
Site Admin
Posts: 4915
Joined: Fri Jun 18, 2004 8:14 pm
Type of boat I like: Wooden
Location: Greensboro, NC
Contact:

Post by jem »

Nice! :D

Dan would be much further along had it not taken so long on my end. Took WAY long on my end. :oops:

But it's good to see this project on track. 8)
-Matt. Designer.
Kayak Jack
Design Reviewer
Posts: 1186
Joined: Sun Jun 20, 2004 8:03 pm
Type of boat I like: <-- Please read instructions to the left and delete this text. Then, tell us what type boat you like! :-)
Location: South-central Michigan

Post by Kayak Jack »

Aye god, Dan - you've got a gymnasium there to work in. Must be a half acre work bench. I'm envious.

Buy some saw horses and get that thing up where your back isn't all cricked up.
Kayak Jack
Doing what you like is FREEDOM
Liking what you do is HAPPINESS
I spent most of my money on whiskey and women - and I'm afraid I just wasted the rest.
AlohaDan
Posts: 293
Joined: Sun Apr 15, 2007 9:36 pm
Type of boat I like: <-- Please read instructions to the left and delete this text. Then, tell us what type boat you like! :-)

Post by AlohaDan »

I picked up a cheap cart at K Mart- $20. Now I can toss stuff in there after using and not lose it. It's taking some time to train my mind to do this as I have a habit of laying stuff down all over the place..

Butt joints finished . Will have pics on lessons learned shortly.

Waiting for dye. In the meantime will start drilling.

The instructions for the bottom panel drilling are clear. But I have not seen anything on drilling the other panels. Is there anyway of drilling with panels laid flat, but lined up with the adjoining panel before you start shaping the hull to the cross panels?
jem
Site Admin
Posts: 4915
Joined: Fri Jun 18, 2004 8:14 pm
Type of boat I like: Wooden
Location: Greensboro, NC
Contact:

Post by jem »

In theory, you could but it's tough to get everything lined up exactly.
-Matt. Designer.
Hank
Posts: 46
Joined: Tue Jan 30, 2007 11:07 am
Type of boat I like: <-- Please read instructions to the left and delete this text. Then, tell us what type boat you like! :-)
Location: Pacifica, California

Post by Hank »

I haven't posted in my own thread yet, but I have the middle panels of my Merrimac attached to the bottom. What I did was to use my drilling jig (scrap of wooden ruler with holes drilled the right distance apart) to drill the holes on the outside edge of the bottom panels. Then I put the middel panel next to the bottom, aligned the butt joints and free-handed a hole on the middle panel adjacent to one of the ones next to the butt joint on the bottom. I tie-wrapped that pair of holes, moved to the next one and repeated.

I don't think there's any way to pre-drill all the holes on both panels before you start stitching. The edges start to curve away from one another when they are flat (which is good otherwise the hull would end up being as flat as the plywood from which the panels are cut).

A final note, I drilled the holes on each bottom panel before starting to attach the mid panels, and even using my jig to get even spacing in the holes the last pair of holes (i.e., at the pointy end) on each side were out of alignment by about an inch. So my jig, while being pretty good, accumulated a significant error. The take home: don't drill all the holes on the mid panel thinking that they will then line up with the ones you did on the bottom. They won't
pogue3one
Posts: 64
Joined: Fri Jun 22, 2007 5:15 pm
Type of boat I like: <-- Please read instructions to the left and delete this text. Then, tell us what type boat you like! :-)
Location: Katy, TX

Post by pogue3one »

I tried that...once. Things didn't quite line up. Didn't do it again.
Man I am anxious to see what this thing looks like. Any chance of posting a drawing?
Wadefish (complete)
jem
Site Admin
Posts: 4915
Joined: Fri Jun 18, 2004 8:14 pm
Type of boat I like: Wooden
Location: Greensboro, NC
Contact:

Post by jem »

Image
-Matt. Designer.
AlohaDan
Posts: 293
Joined: Sun Apr 15, 2007 9:36 pm
Type of boat I like: <-- Please read instructions to the left and delete this text. Then, tell us what type boat you like! :-)

Post by AlohaDan »

Little late posting this.

I'm a newbie so can't contribute stuff like Mick and other more experienced builders, but thought I would share some rookie errors I made doing butt joints.

Here's a shot of my work bench table, admittedly pretty heavy. The joint broke when I lifted it up. Note the glass cloth held on the one side I placed it.

Image

Probably the reason was I failed to get sufficient epoxy glue in the joint.

Image

So I knew this was a potential problem.

Yet I ended up with joints with holes in them:

Image

Why?

I went overboard on trying to avoid excess epoxy that would have to be sanded off.

So what I did was copy Hank by putting strips of tape that would absorb any excess more than 1/4" from joint, but subsitute plastic packing tape for blue masking tape.

Then I made sure there was plenty of peanut butter in there.

Some excess:

Image

But the rotary palm sander handles it pretty quick, and the joint isn't that large one has to worry about it.

Image


For builders that want a clear wood asemblage to come though, note the use of West Systems Collodial Silica versus wood flour avoids any staining.

My $.02 contribution for the free advice I'll be asking next.
Post Reply