Page 1 of 6
TRR LAKER 15' 5'' A
Posted: Mon Jul 14, 2008 11:33 pm
by tx river rat
Matt
Thanks for getting these to me so fast.
Well here we go again a Laker 15 5 is about to be born.
Tomorrow will go get the wood and start cutting and laying out the hull.
I am getting excited already , oh before we get to far into this it will be my standard build.

.
Off to the box store and then the fun starts.
Ron
Posted: Sat Jul 19, 2008 10:43 pm
by tx river rat
Got some time to work on the 15 5 today. I am going to show some pics of the layout just for the new guys.
First layed out the twelve inch lines on the ply
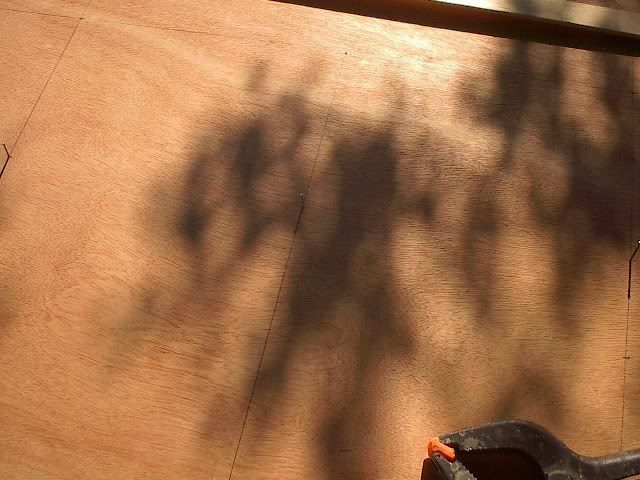
then measure of the points from Matts Plans I drove finishing nail in at the intersecting points and then used a piece of molding to follow the curve, clamping them to the nail
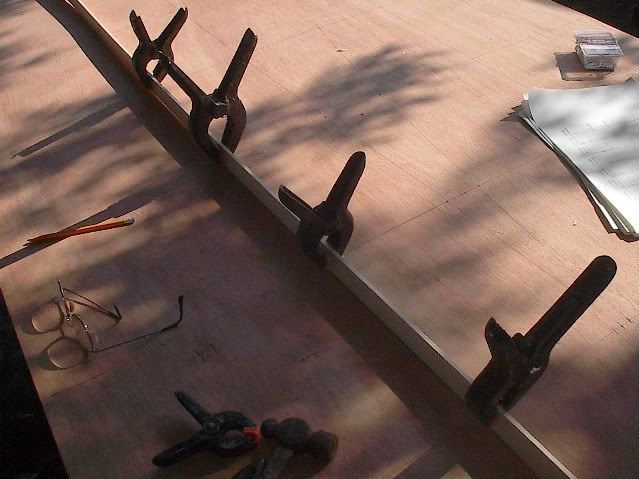
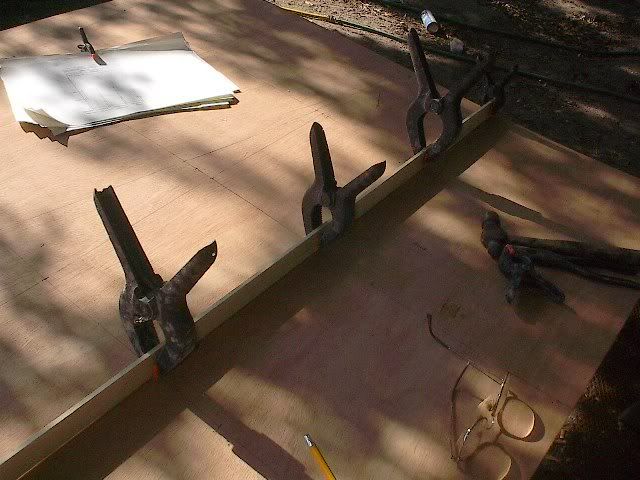
the last pic is after the lines are scribed on the ply
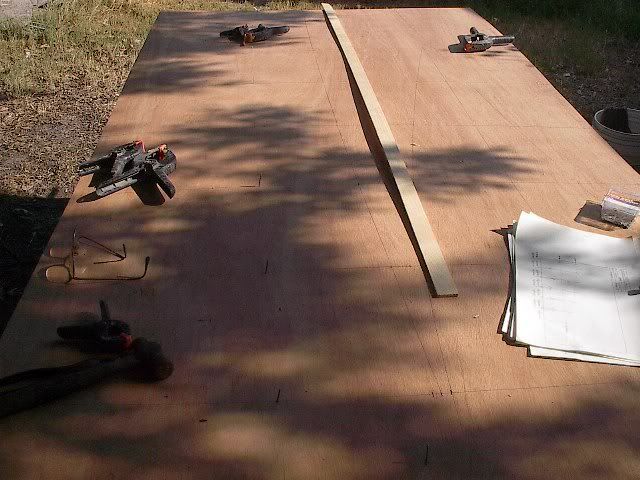
Broke out the ole jig saw and started cutting ,got sides and bottom cut and sanded smooth, stations cut out, I am ready to start splicing the
panels,will try to do that and a little stitching tomorrow
Ron
PS I know this is cheap laun but it sure has some pretty grain to
Posted: Sun Jul 20, 2008 10:47 pm
by tx river rat
Panels sliced
Posted: Mon Jul 21, 2008 8:04 pm
by tx river rat
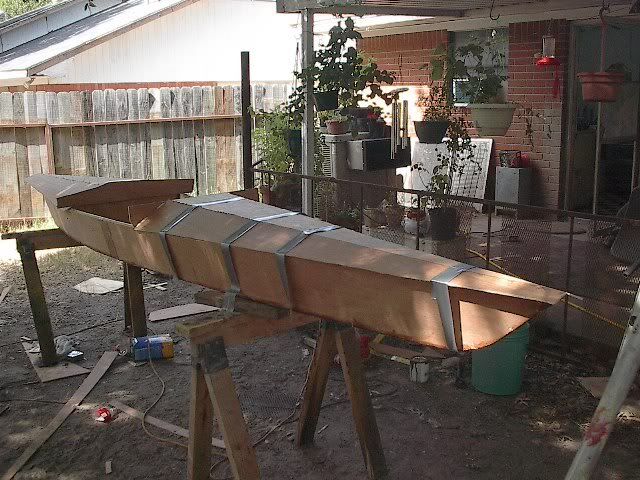
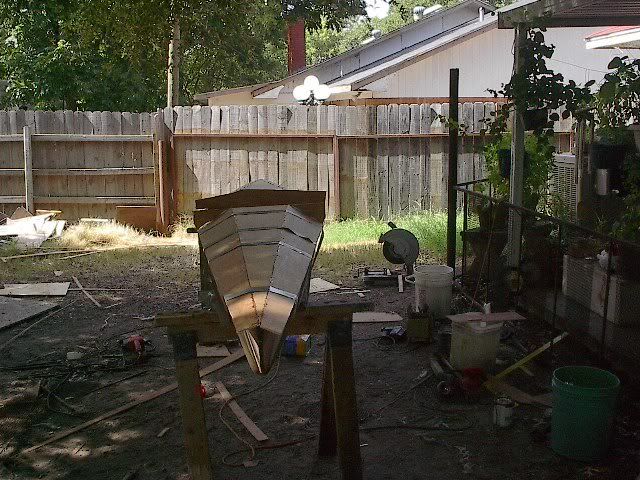
Moving right along got the stations stiched in
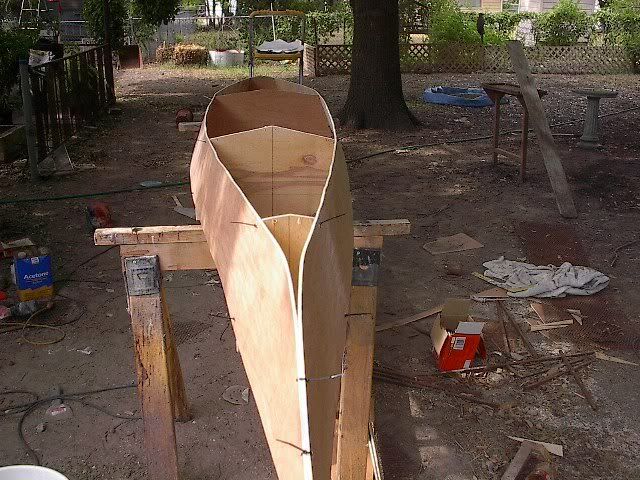
another angle
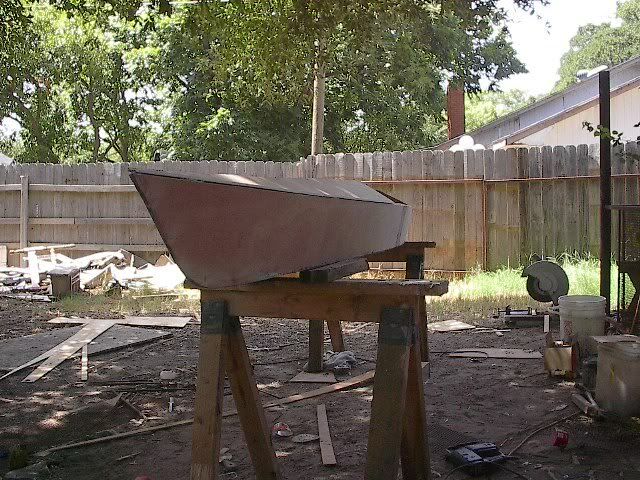
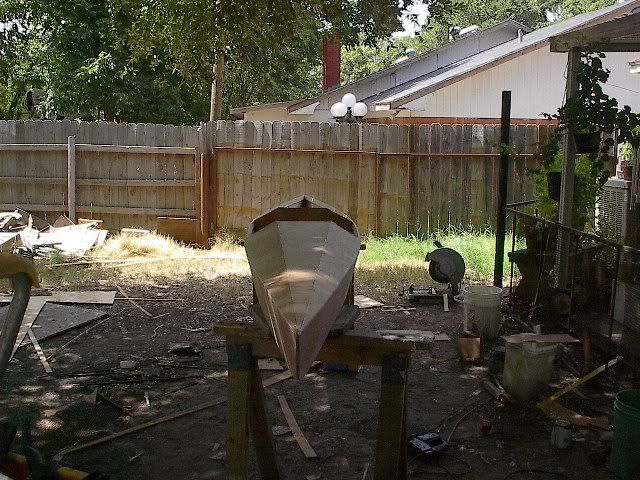
started stiching the bottom on
Man this thing is long and lean just looks speedy sitting there
Might get a little of my filets run tonight.
Matt which splice should I measure back to set my seat of off the bottom or side splice.
Ron
Posted: Mon Jul 21, 2008 8:35 pm
by jem
From the bottom splice looks like it's the sweet spot. But test it before permanently attaching to be sure.
Posted: Tue Jul 22, 2008 8:59 pm
by tx river rat
Filets run on outside and inside
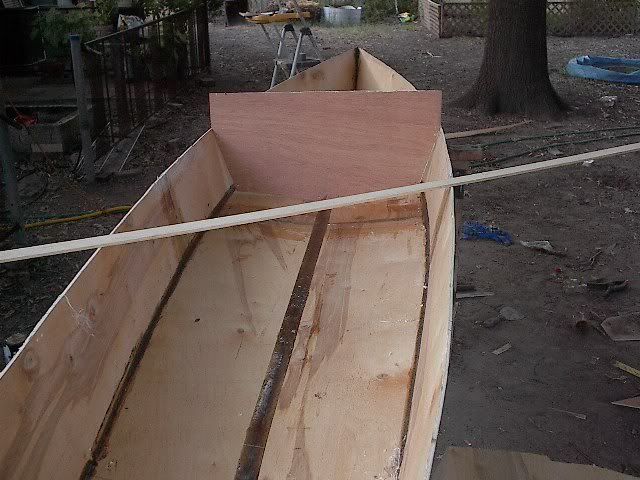
cutting bulkheads for cockpit
Ron
Posted: Fri Jul 25, 2008 8:44 pm
by Earvin
Looking good Ron. You are right it does look long, lean and fast

Posted: Sat Jul 26, 2008 1:01 pm
by tx river rat
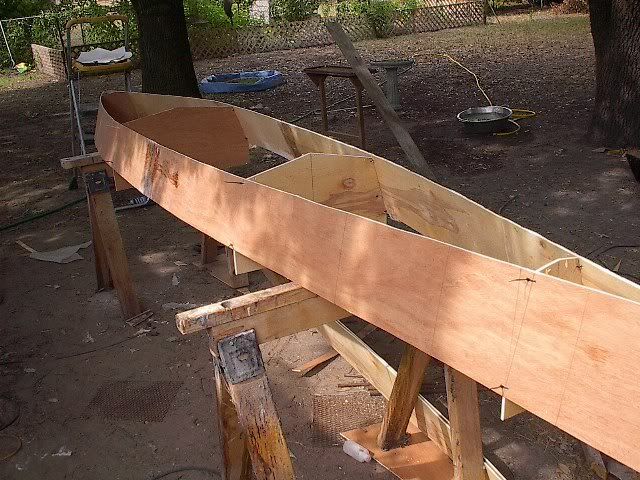
Got the inside glassed , end pours in,started fitting the decks , tacked them and pulled them off, glassed the backside.
Putting decks on and glueing them
trimming and sanding decks to shape of the boat
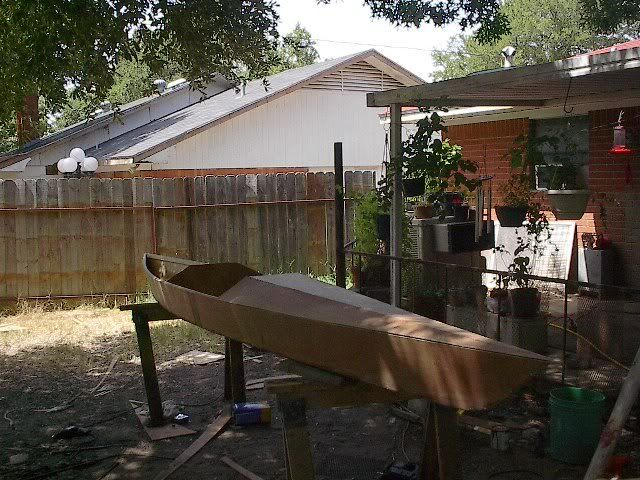
Is looking long and lean
more latter
Ron
Posted: Sat Jul 26, 2008 1:06 pm
by jem
Everyone needs to know what's going on here:
I only provided Ron the drawings for the lower hull. He's installing the deck by hand and by eye. And doing a mighty fine job of it!
That boy has got some skills!
Posted: Sat Jul 26, 2008 2:31 pm
by tx river rat
Matt
Thanks for the thumbs up.
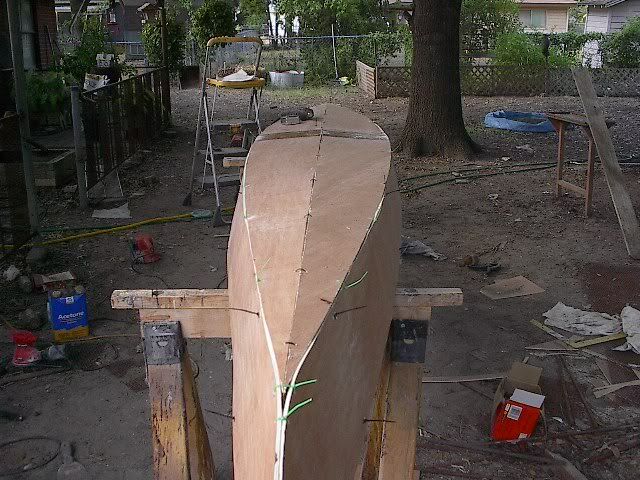
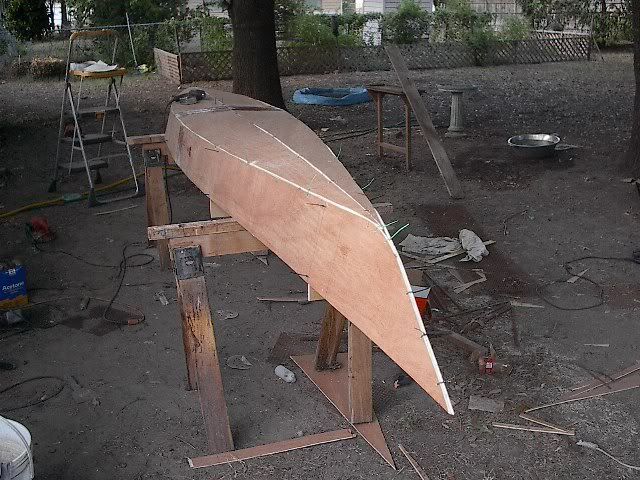
I went and took the measurements I cut off 2 1/2 inches in height on the nose and tapered that back to nothing at 52 inches from the nose.
that gives about a 9 inch height on bow and stern, bye not peaking the front deck I lost a little over an inch in height and bringing the deck to a point gives me 3 3/4 inches of sloop from the cockpit to the nose that should be plenty to shed water from a wave, and I am hoping the lower profile and being balanced from front to back on the decks will cut weather cocking to a minimum, and help some more bucking head winds.
We will see
Ron
Ps I think the asymetrical and the decks are goig to give this yak a lot of eye apeal