Page 8 of 13
Posted: Tue Jun 26, 2007 1:58 pm
by Mullet_Key
Photos will be out after vacation next week. The recessed boxes for the Salty Dog foot braces have been eating my lunch. Plus I've actually been on the water fishing some.
[
http://www.packtx.org/Photos/tabid/58/g ... fault.aspx ]
Posted: Mon Jul 23, 2007 6:57 pm
by dangermouse01
Ok, since my last post I have:
1. Installed the cockpit frame.
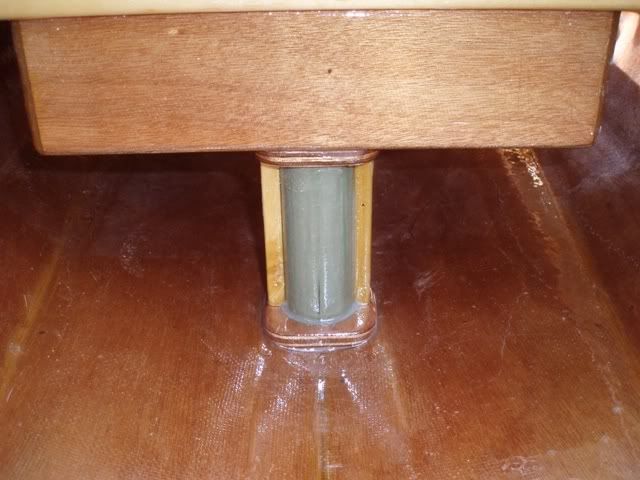
2. Made and installed both the scuppers. Heres a picture of what the one located in the tankwell looks like from inside the hull..
3. Installed the tankwell.
4. Installed the tankwell deck panels along with the rear deck panel (yesterday).

5. Installed the cockpit (today).
Heres my building tip for this post.
When ever I was working with the tankwell, I clamped two boards that spanned the width of the tankwell plus a few inches across the top of the tankwell..

Then when ever I needed it in the hull I just placed it in. The boards kept the top of the tankwell flush with the top edge of the hull.
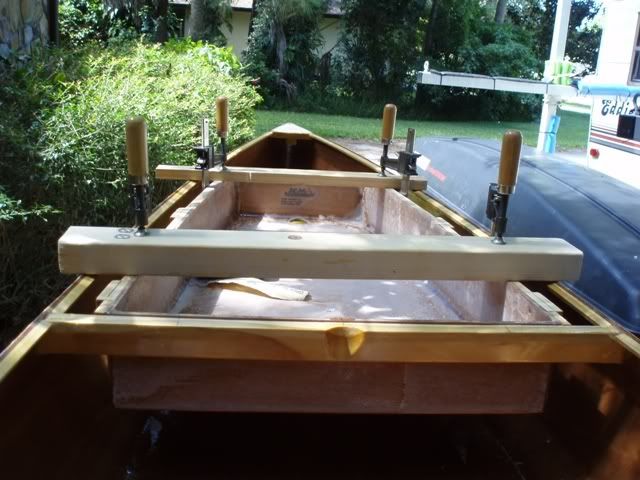
I found that it made handling the tankwell easy, used it for building up my scuppers. and when I installed the tankwell into the hull. Have a mark at the center of the mid deck beam and and another on the middle edge of the tankwell to line it up by.
DM
Posted: Mon Jul 23, 2007 10:36 pm
by hairymick
Heya DM,
I can only aspire to beautiful work like that. I just can't believe how neat it is. Stunning
Posted: Tue Jul 24, 2007 8:49 am
by Mullet_Key
Great work there, what's the concave knotches for on the cross beams? Or am I jumping the gun there on the next building tip? MK
Posted: Tue Jul 24, 2007 10:18 am
by dangermouse01
Mullet_Key wrote:Great work there, what's the concave knotches for on the cross beams? Or am I jumping the gun there on the next building tip? MK
Come on, I can't give away all my secrets.

Psst...Mick, thanks, but you should take a peek at the inside of MulletKey's WadeFish hull, that is a clean hull.
DM
Posted: Tue Jul 31, 2007 12:45 pm
by surfman
It looks like something NASA would make. Good work and lots of technical details. Very impressive.

Posted: Sat Aug 04, 2007 3:11 pm
by dangermouse01
Thanx surfman, NASA is just up the road from me, but I don't work for them. My dad worked (and re-tired) at Cape Kennedy for about 40+ years. Tho I do work for an Gov systems/Aerospace company.
Well, today got the last of the deck pieces (the fore deck) attached. Guess its a milestone since I am out of wooden parts that need to be assembled.

Course, still need to glass the deck with cloth.
About 2:00 PM checked the intellicast radar, everything looked clear in my area, forecasting only a 20 percent chance of rain, much better than the 50-60 percents we have been getting for the last week or two. So I went for it and did an end pour.

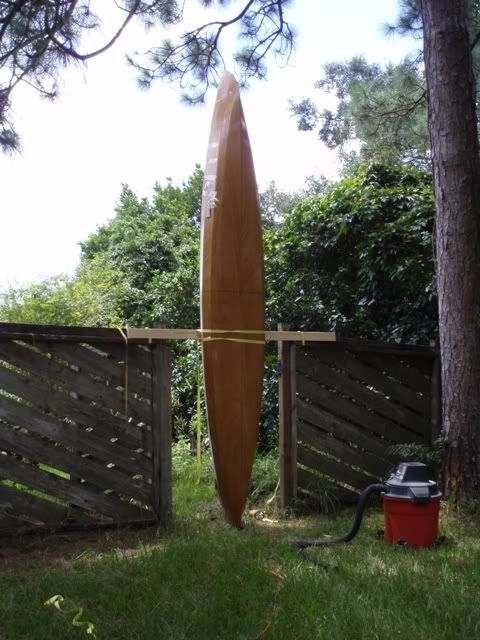
Kinda funny how 15 feet is alot TALLER than you think after walking circles around the boat while it is horizontal.
DM
Posted: Mon Aug 06, 2007 11:02 am
by Mullet_Key
Outstanding - looks really nice.
Posted: Mon Aug 06, 2007 5:56 pm
by Kayak Jack
Matt
PLEASE DELETE THIS DUPLICATE MESSAGE? Thanks, Jack
Posted: Mon Aug 06, 2007 5:56 pm
by Kayak Jack
Mouse,
You may be the only guy in boat building history that has ever stood the boat up on end to do an end pour. Most of us tape a small, cardboard, triangular receptacle into the end, and pour a bit of epoxy at a time into it. It's a good place to dump excess epoxy when you're finishing up on other parts of the boat.
I locate mine so the hole through for the rope is just above the water cut line. That way, if I or someone else ever has to line the boat through through section of river, it is much less likely to roll over.