Page 2 of 7
Posted: Sun Nov 25, 2007 4:13 pm
by jem
Well without seeing exactly what he had, I'm not sure. But giving a little extra length wouldn't hurt.
Taking off too much is the hard part.
Posted: Sun Nov 25, 2007 8:07 pm
by tx river rat
James
using the 1/8 ply you will be ok here are a few pics these are forced as much as I cam without cracking ply
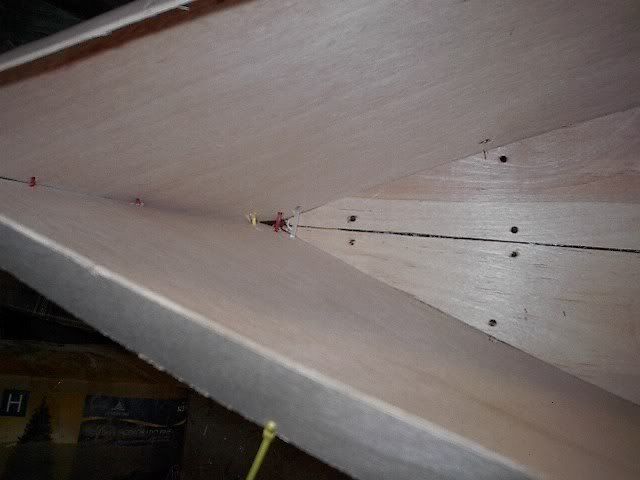
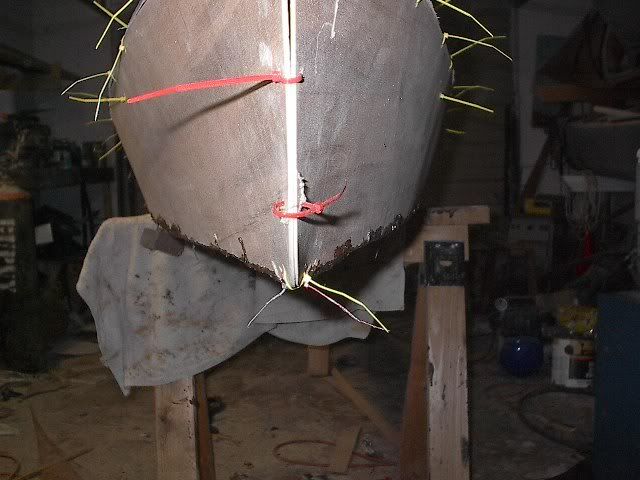
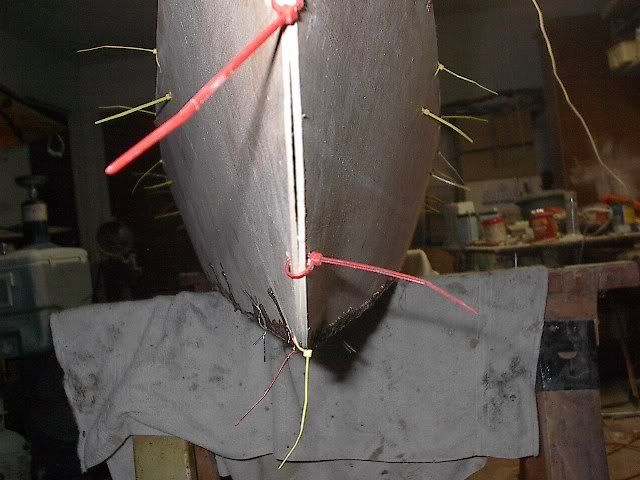
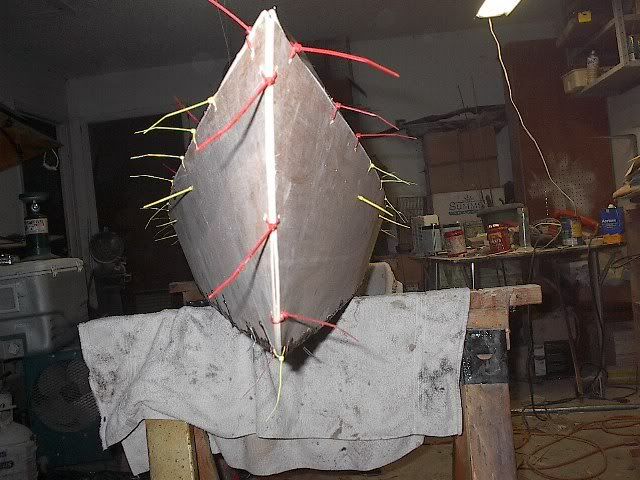
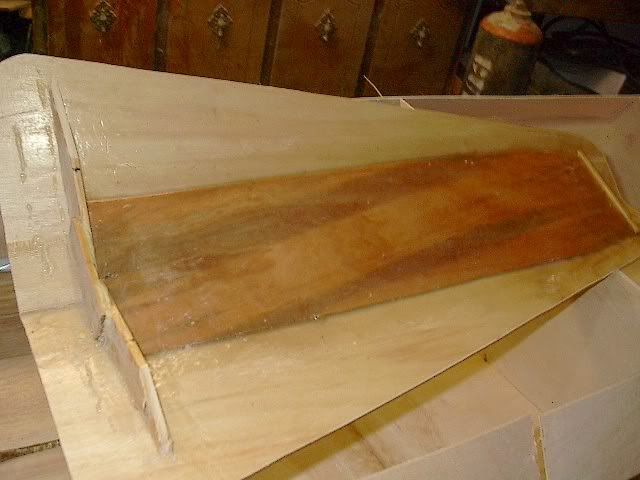
Here is how I braced the bottom side of the hatches
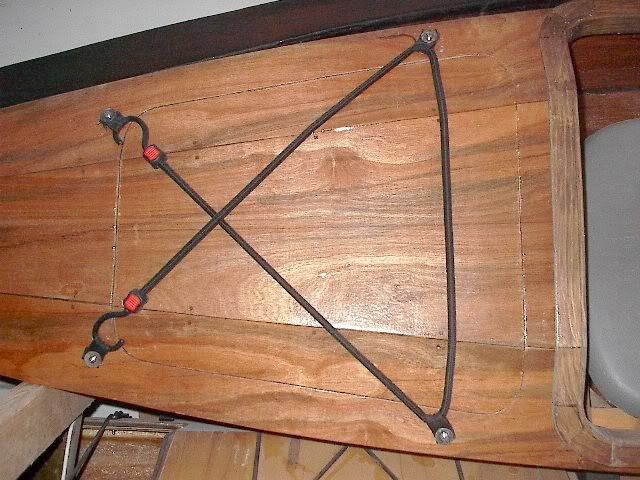
and a pic of the bunji cords and set up on hatches
Holler if you need anything else
Ron
Posted: Sun Nov 25, 2007 11:29 pm
by jheger
Ron:
Thanks for the pictures on the TV and on the Laker hatches.
Posted: Thu Nov 29, 2007 8:10 pm
by tx river rat
Matt
About 3/4 inch added in back and 1 1/2 in front would really help if using 4 mm ply
Ron
PS have it flipped over now where I could measure it.
Posted: Thu Dec 06, 2007 9:24 pm
by tx river rat
I have been pretty busy the last few days I need to catch up on my posting.
Here we go
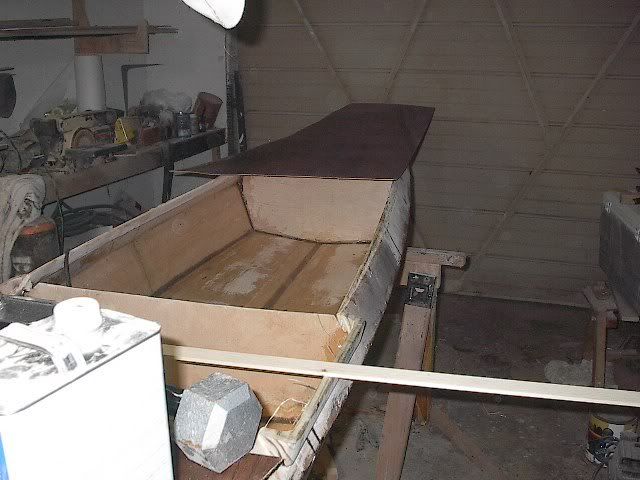
bulkheads in filets run and inside glassed
end pours done I had to stand this one since it had the tumble homes installed dang its tall
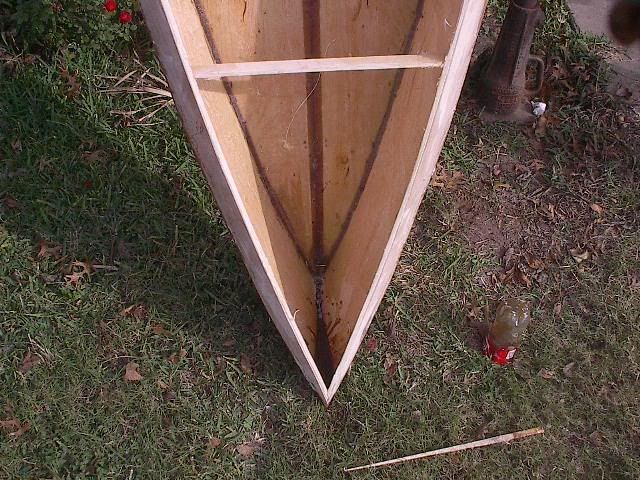
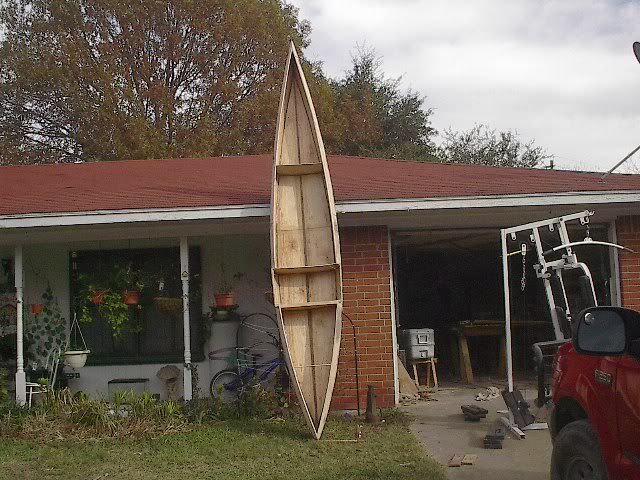
shear strips glued in
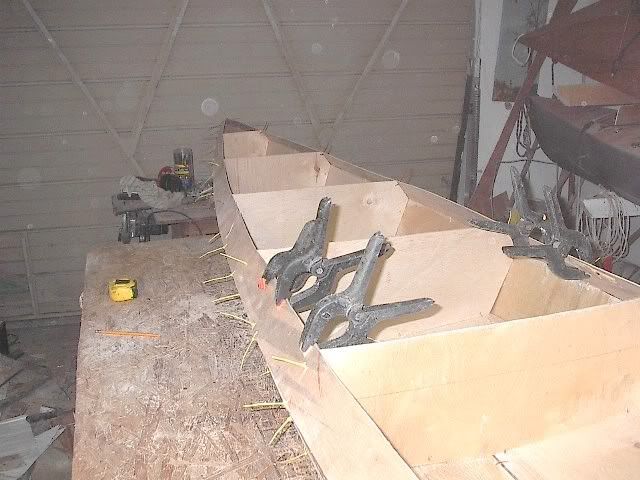
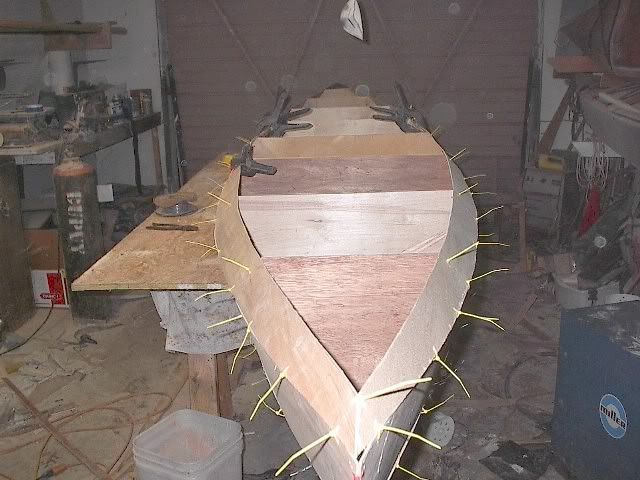
cut the rear deck and installing it
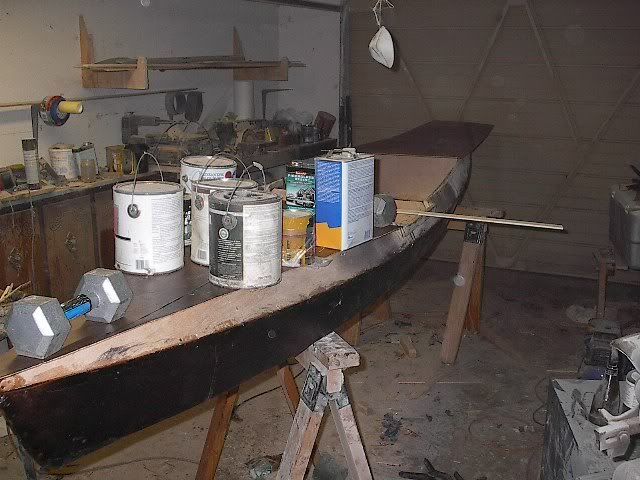
I went with a flat rear deck
This is getting pretty long I think I will end it here
Posted: Thu Dec 06, 2007 9:40 pm
by tx river rat
Ok here we go
I tried something on my front deck and it seems to be working ok
glassed the back side of my deck put 4 inch strip of clothe down the center line.
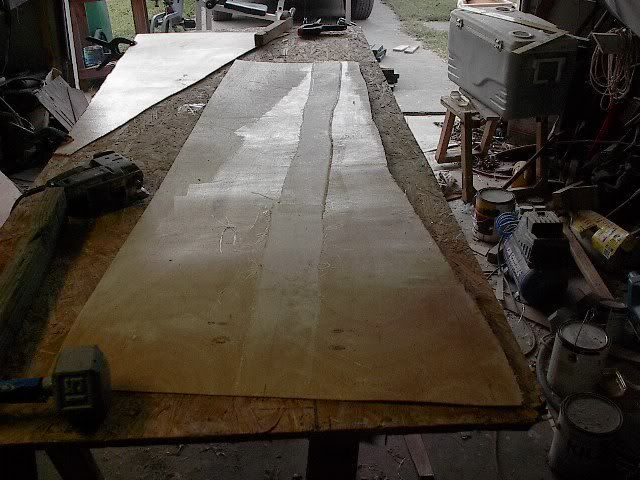
then I turned it over ran a saturation coat on the side(the top side)
then drew a line down the center making sure I was in the center of the tape on the other side
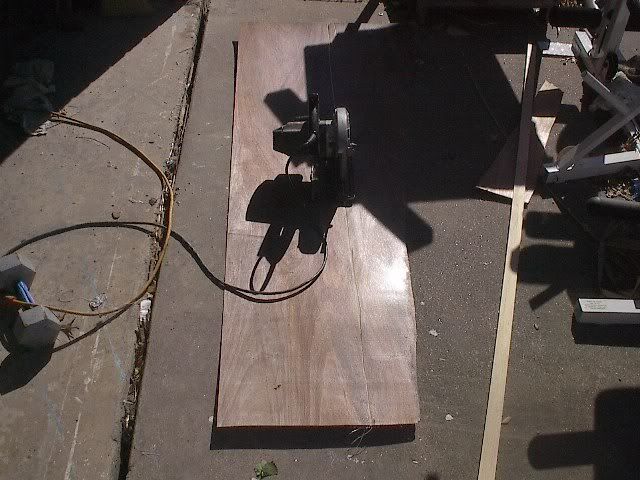
I set my skill saw to cut 3/4 way threw the 1/8 ply ( I free handed it should of used a straight edge) but it worked ok
then I got a 2=4 placed it under it and pushed down
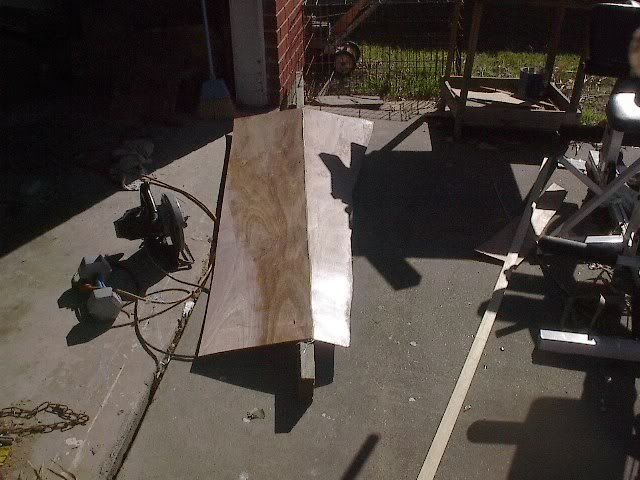
Wala a good straight edge in the 1/8 ply no waves
put on top of yak marked then sanded it to shape
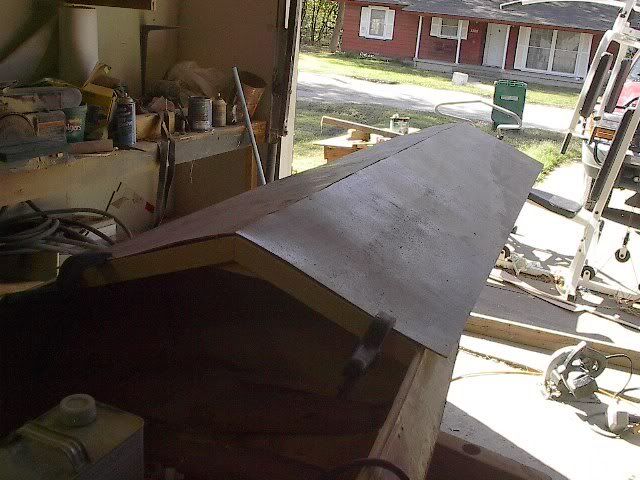
Saves a lot of time good straight line and the cloth on the back side works as a hinge to hold everything just right and when you bend it open lets you glass all the way back through to the tape.
Ron
Posted: Fri Dec 07, 2007 10:47 pm
by tx river rat
Boat is starting to shape up
got the front deck on
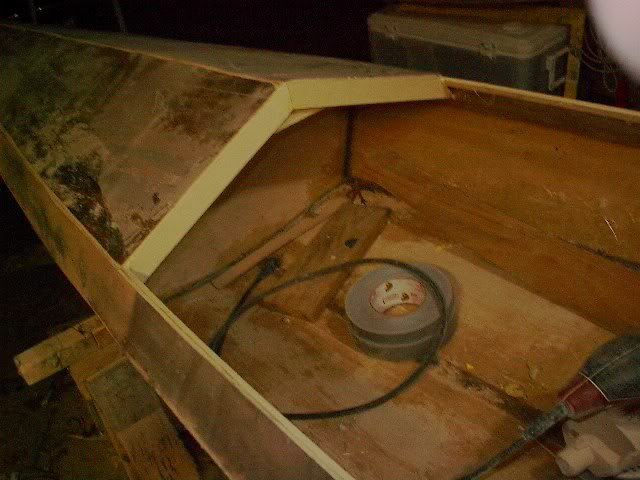
got the combing installed
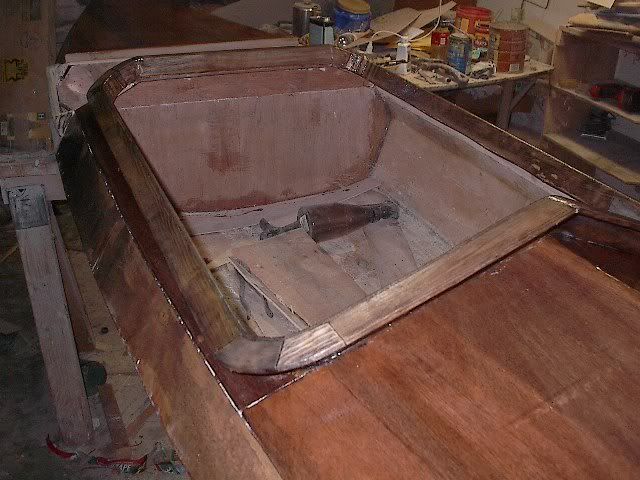
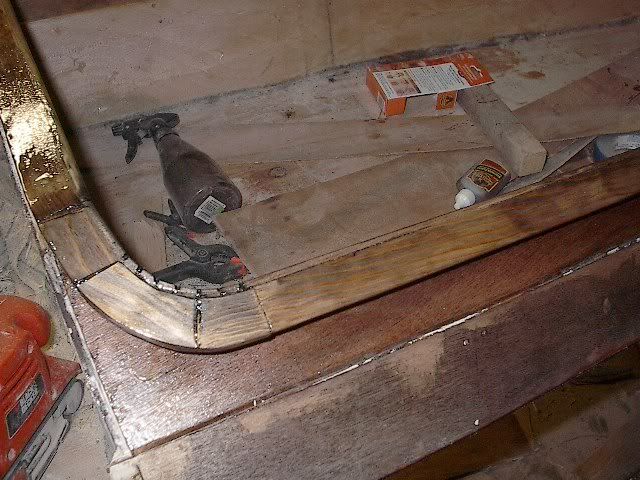
got a little glass on the nose
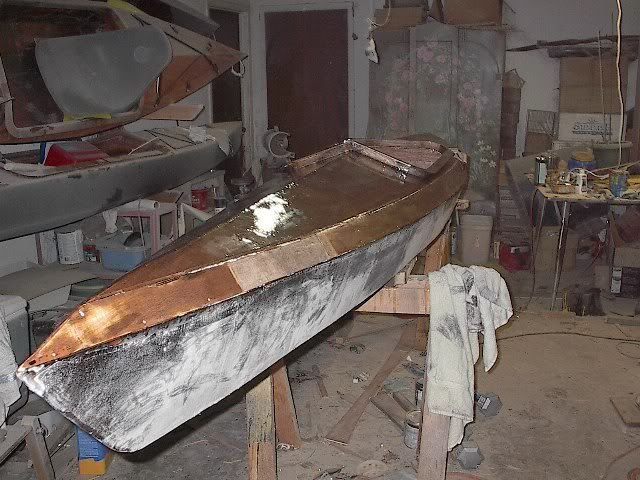
The more I work on this boat the more I like it bet it is going to be in low fortys in weight to.
Mick better get Matt to send you this set of plans.
More tomorrow.
Ron
Posted: Sat Dec 08, 2007 3:40 am
by hairymick
The more I work on this boat the more I like it
Me too mate.

Only I'm not working on it.

I think this one is going to be a real usefull ship.
I like your idea re the decks too, very clever!

Posted: Sat Dec 08, 2007 10:34 pm
by tx river rat
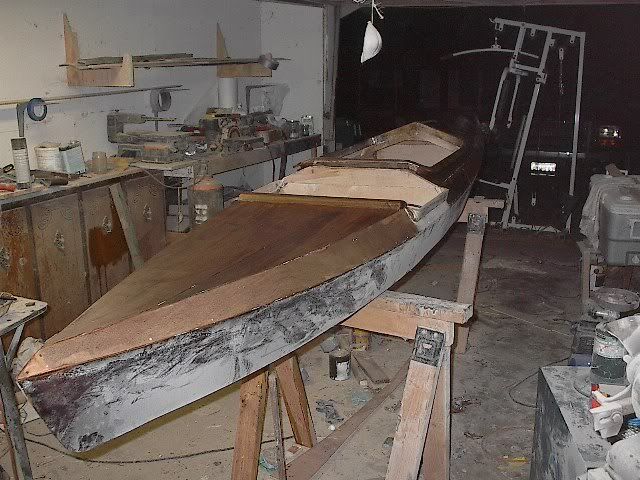
pics from back of boat and back deck
and of what the spot behind the seat was for
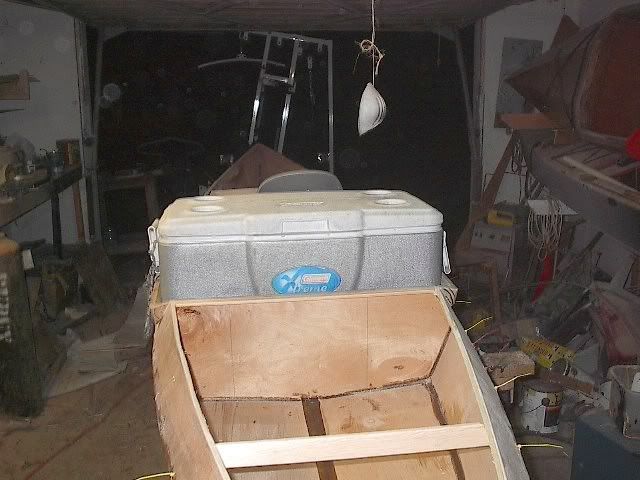
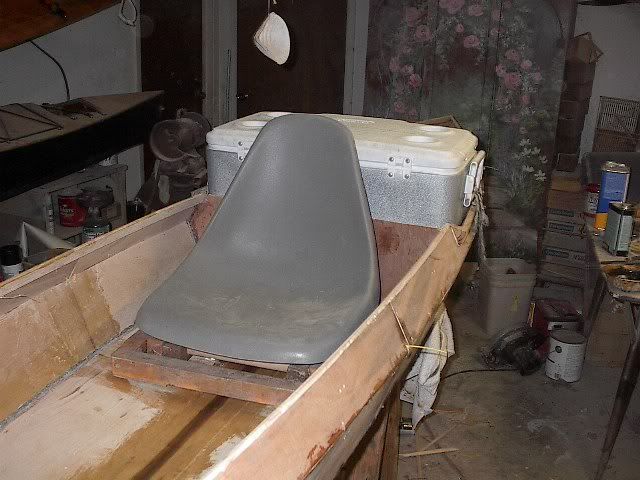
It gets hot in Texas and I needed a way to carry a five day extreme cooler on my trip for food and refreshments. I still have all the room I need for the rest of my gear.
The boat weighed in at 43 lbs.
Ron
Posted: Sun Dec 09, 2007 1:30 am
by hairymick

It gets hot in Texas and I needed a way to carry a five day extreme cooler on my trip for food and refreshments
I would stick to that story too mate.
Looks like a 50 can, cooler to me.
I hear tell that Texans can get very thirsty on a hot day.

Ron I have to tell you, I am real impressed with this boat. If I wasn't committed to three other builds allready, one of these would be going into my shed real soon.
Your back storage area for the cooler is very clever. I would be thinking about building a timber cooler "Wannagan?" into the hull there.
My only concern with such a big cooler is will it raise the centre of gravity too high?