Page 2 of 3
Posted: Sat Jan 12, 2008 6:01 am
by john the pom
All sorted now cut them in half again, noticed as I was doing that the join was on an angle, that is coupla mm gap down to nothing at the other side. That should have put me on to the fact something was not right because I checked everything else thoroughly and then some.
I used a really long straightedge to mark a line on the floor on the floor and "ASSUMED" the bottom panels would angle similar to the sides, because I couldn't clearly make out my printout... Forty years of using drawings and I did that. Still could have been much worse. A good lesson for me and anyone else; if you ain't sure: ask!
Very interesting to cut through a woodflour joint. Was really impressed with the integrity of the join, and that was my first attempt. It cut beautifully as well no splintering at all.
Posted: Tue Jan 15, 2008 3:19 am
by john the pom
Now I have a coupla pics and can't find the button that sucks them off've the pooter and onto here. Is there and idiot's guide to putting pics on here? If this is answered in the next day or so expect the pics in a bout a week

And yet another question: corner seams. How important is it to totally fill corner seams? I ask this 'cos I did mine and they're probably 80% full and I'm wondering... Given that over the top of these seams will go a saturation coat, a wet out coat at least two fill coats and probably a graphite coat. Then on the inside the same join will be filleted, again saturation, wet out, and at least two fill coats. Is it me trying to avoid a bit of work or is this overkill?? All comments appreciated.
Posted: Tue Jan 15, 2008 6:25 am
by hairymick
G'day John,
I use Photobucket.
If you go here,
http://photobucket.com/?link=topmenu
and create an account. (it is free) you can then log on to that site and up load photos to your album/s.
You can then up load photos to your album direct from your computor. For posting on forums you need to re-size the down to around 640 X 480 or smaller.
It is easy to do. Just above your browse buttons on the right side of the screen is an
options button. click on that and select the pic size you want to post in.
Then you go to the browse button clik on it and a window will open where you can select the piccies you want to post. Click on the piccie and then click on the upload button below the browse tabs.
Once you get the piccie up loaded to photobucket you right click on the image URL. that is the second tab below your image titled
Direct Link and looks like this
http://i24.photobucket.com/albums/c32/h ... x480-1.jpg
another window will open, left click on
Copy, Come back to your browser where you are posting, place your curser where you want and right click again.
in the window that opens in your post, left click on
paste and the link to your image will appear in your message.
once you get to that stage, i will show you how to actually stick the piccies in here.

sounds complicated but it is real easy. if I cn do it anybody can.

Posted: Tue Jan 15, 2008 11:07 am
by tx river rat
On my bottom I had a wide spot to.
Ron
Posted: Tue Jan 15, 2008 12:20 pm
by jem
tx river rat wrote:On my bottom I had a wide spot to.
Ron
gotta eat less?


Posted: Tue Jan 15, 2008 1:20 pm
by tx river rat
jem
or maybe build a widder cockpit lol
Ron
Posted: Wed Jan 16, 2008 7:17 am
by john the pom
Ok is looking a lot more boat-like now. Filled in the seams I was pondering and thought: just do it! So did it, sanded it a bit and moved on. Put glass on and wet it out (naturally had to use wife's kitchen scissors, so am in the poo again) then realised I was gonna be late for work. Came home and all looking good apart from four little areas, bout 1/2 x 1 inch where it rested on the trestles where glass had lifted. Have clamped with plastic and they'll either bond overnight, or not. If not I'll cut them out and patch... Still looking at Mick's post bout photobucket. Am thinking of inventing a new thread called postbuild log

Posted: Thu Jan 17, 2008 8:07 am
by john the pom
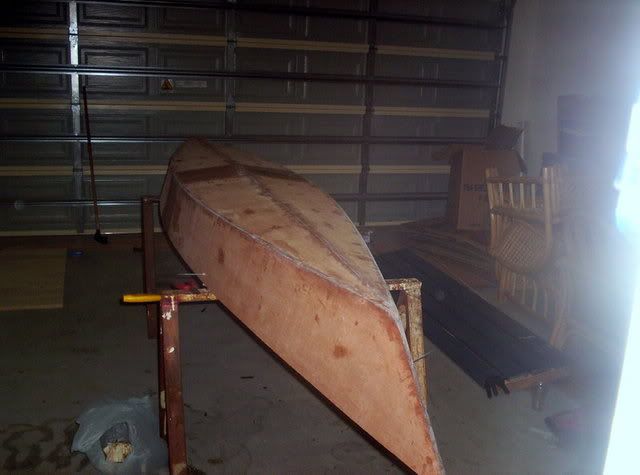
Don't know if this will work. Am considering it a breakthrough in technology if a piccie appears when I press submit
Well bugger me! it worked! Now I can do pics

Ok that pic was taken a day or so ago. Since then I've put glass on, a fill coat and a second fill coat on the bottom with graphite, very undermixed I might add, will have to make up for that on the next coat.
Posted: Thu Jan 17, 2008 8:24 am
by john the pom
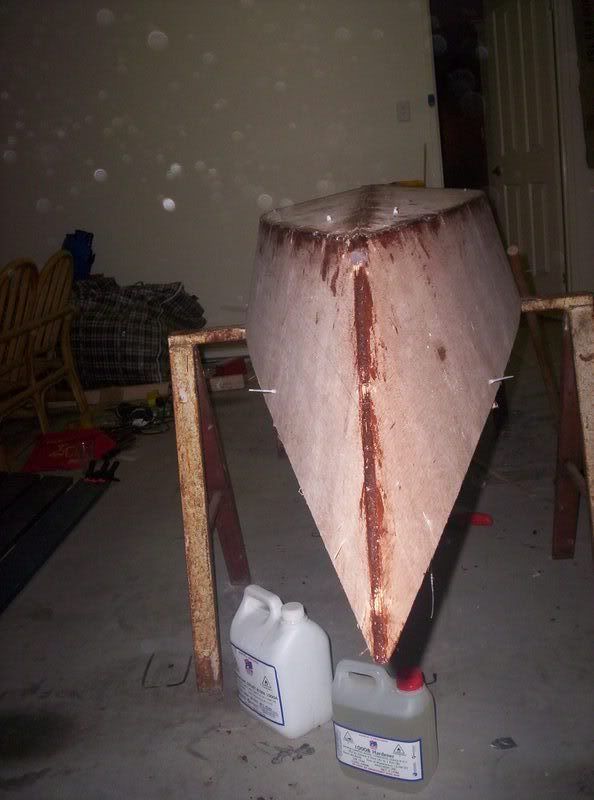
Ok I know these pics go backwards but I'm still learnin' and need to practise stuff
Posted: Thu Jan 17, 2008 12:18 pm
by Kayak Jack
Damned good start, John. Keep up the good work.