Page 8 of 12
Re: Tassie Wadefish
Posted: Thu Jan 13, 2011 4:35 am
by PiratePete
I made the big step today & cut the side of my seat insert ready to fit the rod tube on 1 side.
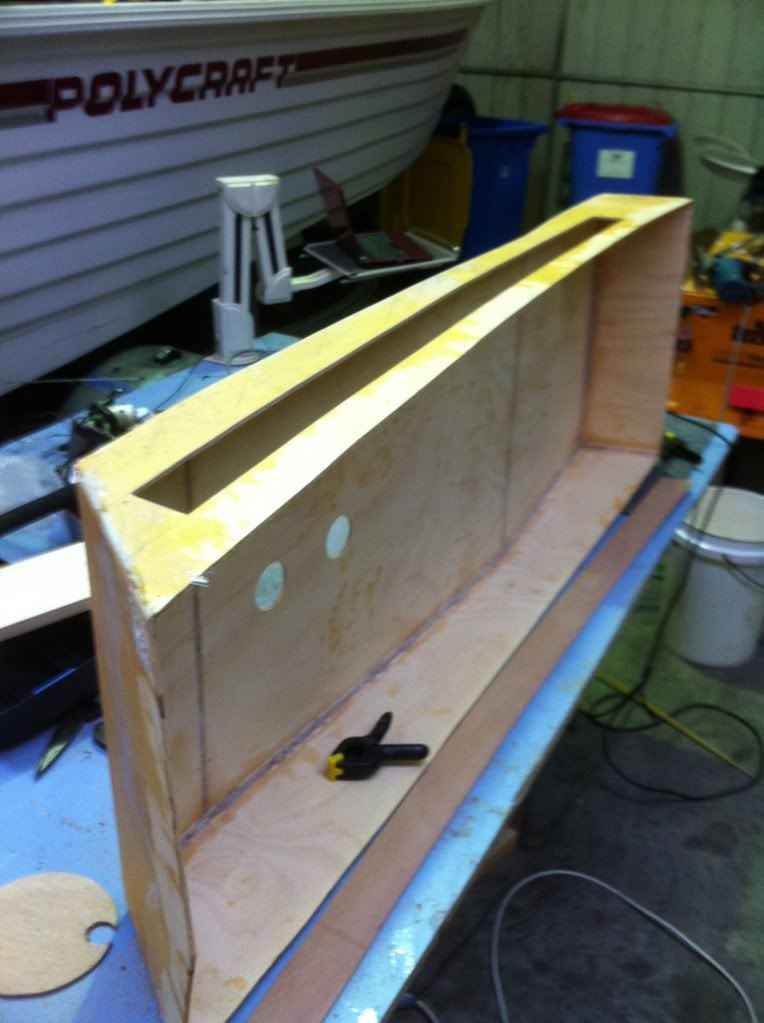
I used the top sides as a template to match the curve.
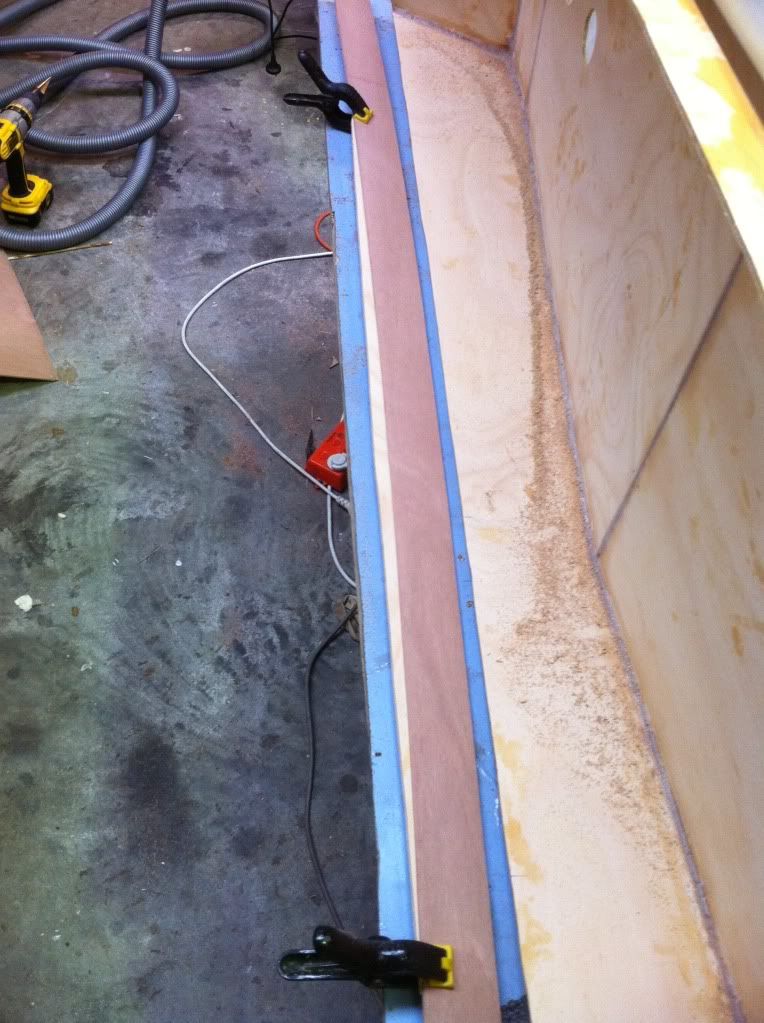
My plan is to glue & glass these strips into the seat insert then glass the tube in place with the front cut out of it.
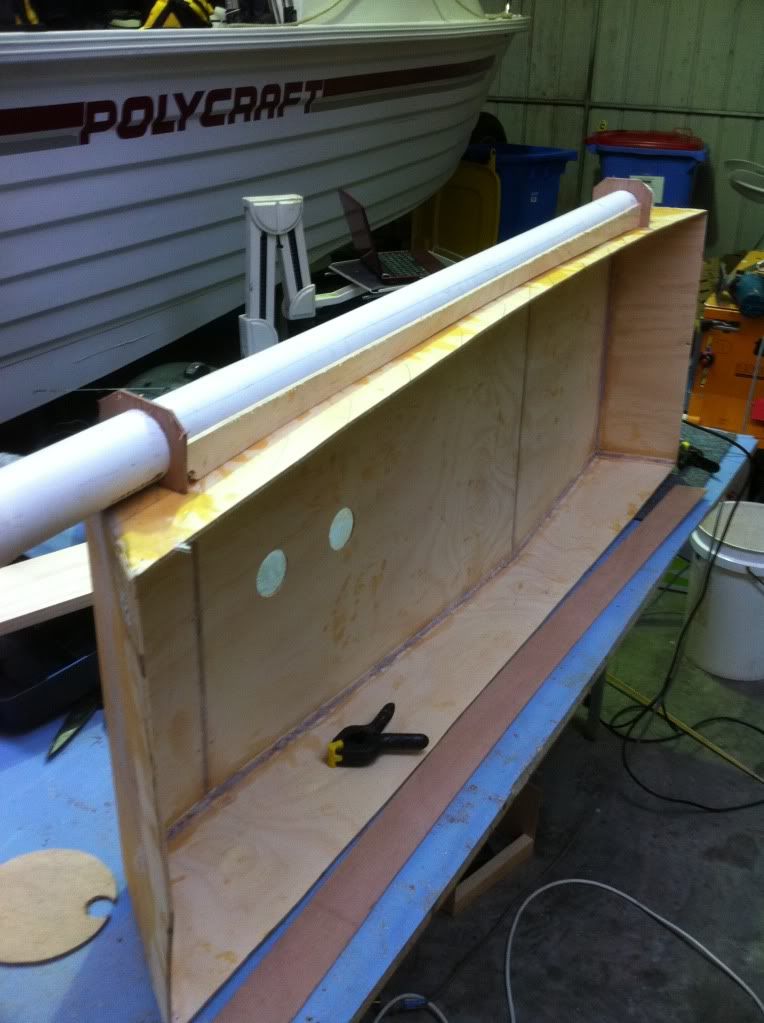
This should make a pocket for my rods to sit in
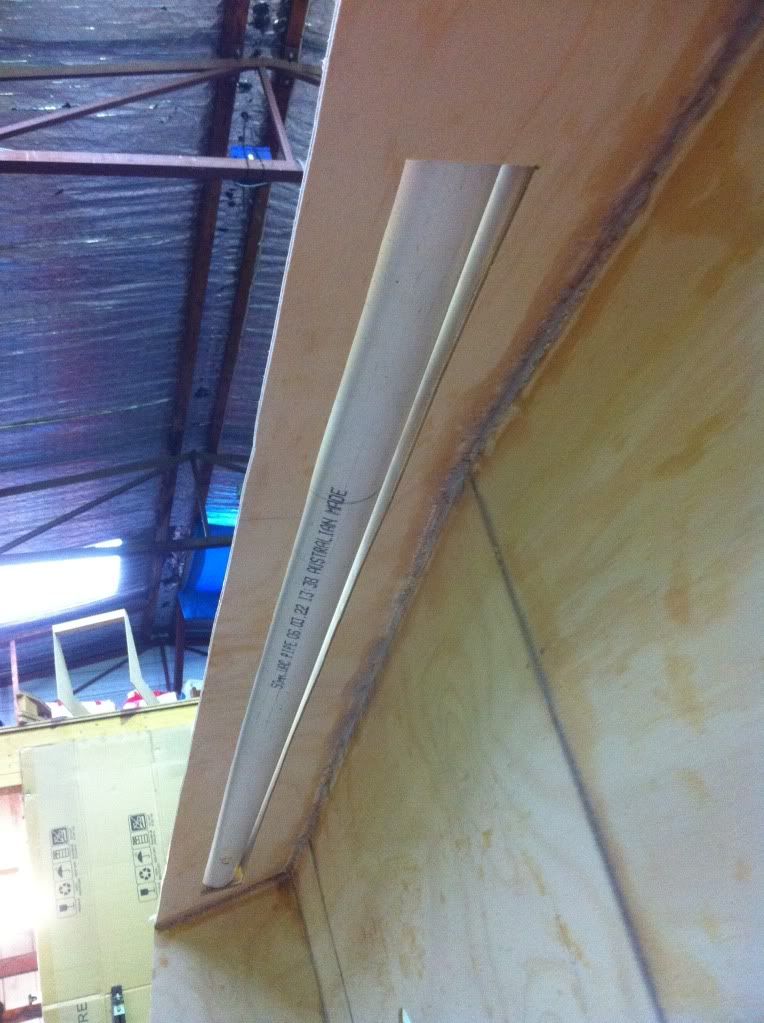
Already to start to glue.
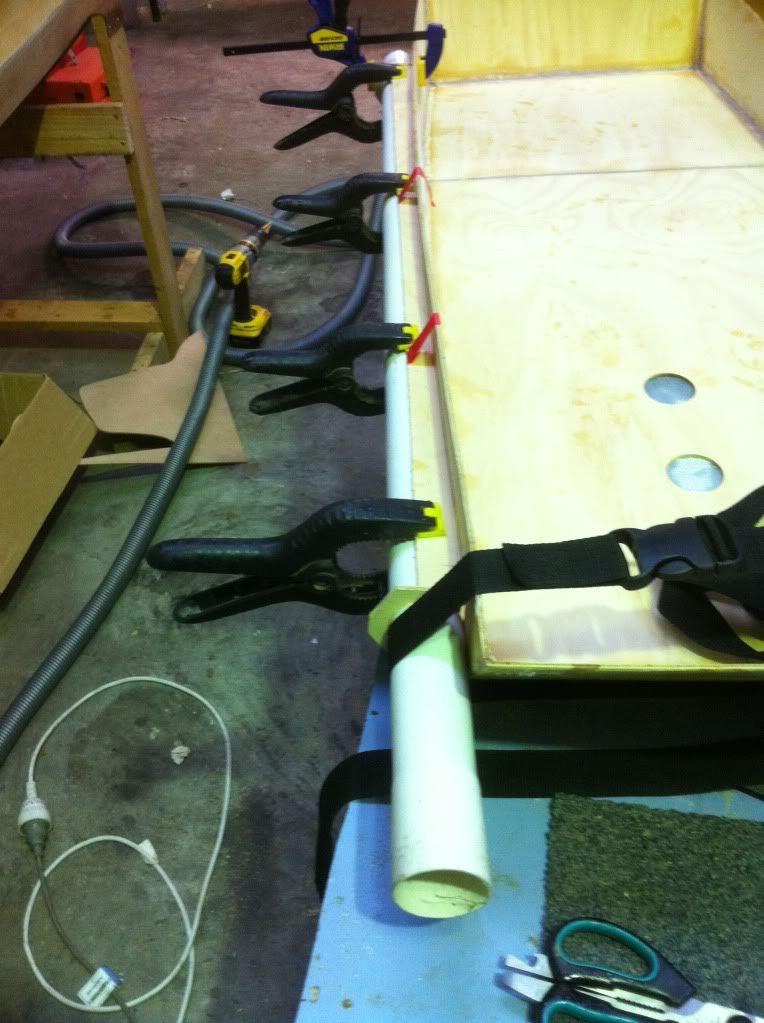
Once I have got the first side done I will do the second so I can carry 2 rods this way.
You may notice that the tube is short. I will fit the next piece from inside the front hatch so its easier to fit. They will also need a slight curve to them.
I also glued the seat frame with the drive well into the hull. but forgot to take a picture.
Re: Tassie Wadefish
Posted: Fri Jan 14, 2011 5:49 am
by Bemm 52
Re: Tassie Wadefish
Posted: Fri Jan 14, 2011 5:07 pm
by PiratePete
Thanks Bemm.
I just hope my idea works

Re: Tassie Wadefish
Posted: Sun Jan 16, 2011 8:19 pm
by PiratePete
I got some more done on the Wadefish today.
I sat the seat section in place to see how it looked.
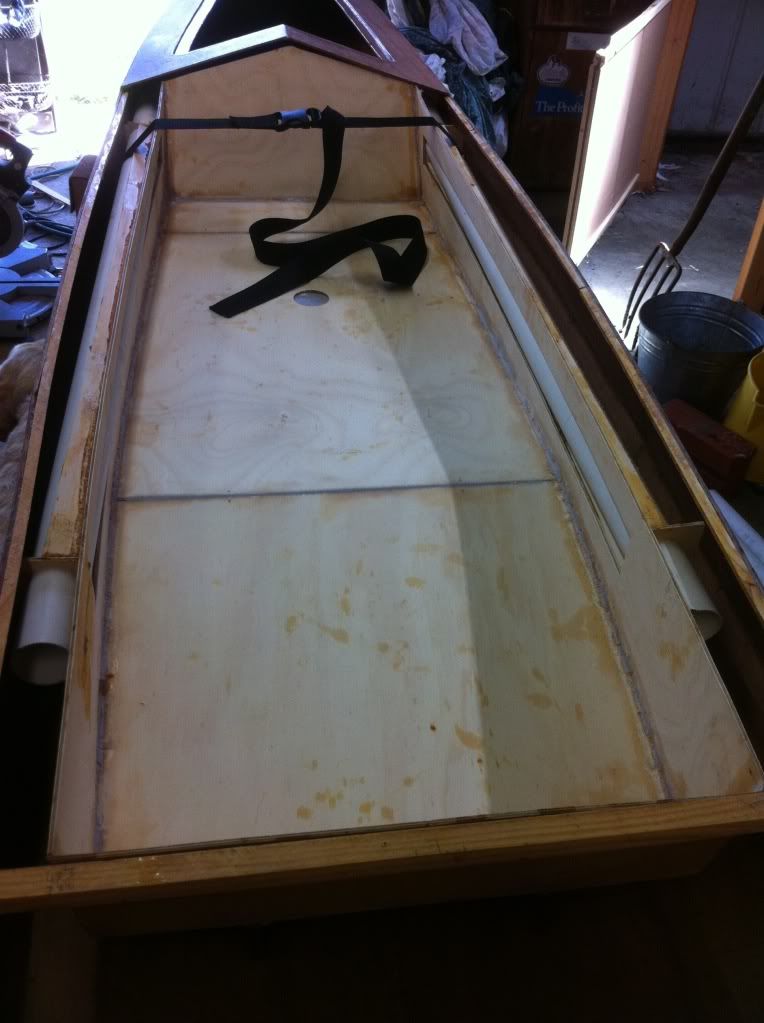
Every thing fits so Im hoping it will work.
All ready to start to glass.
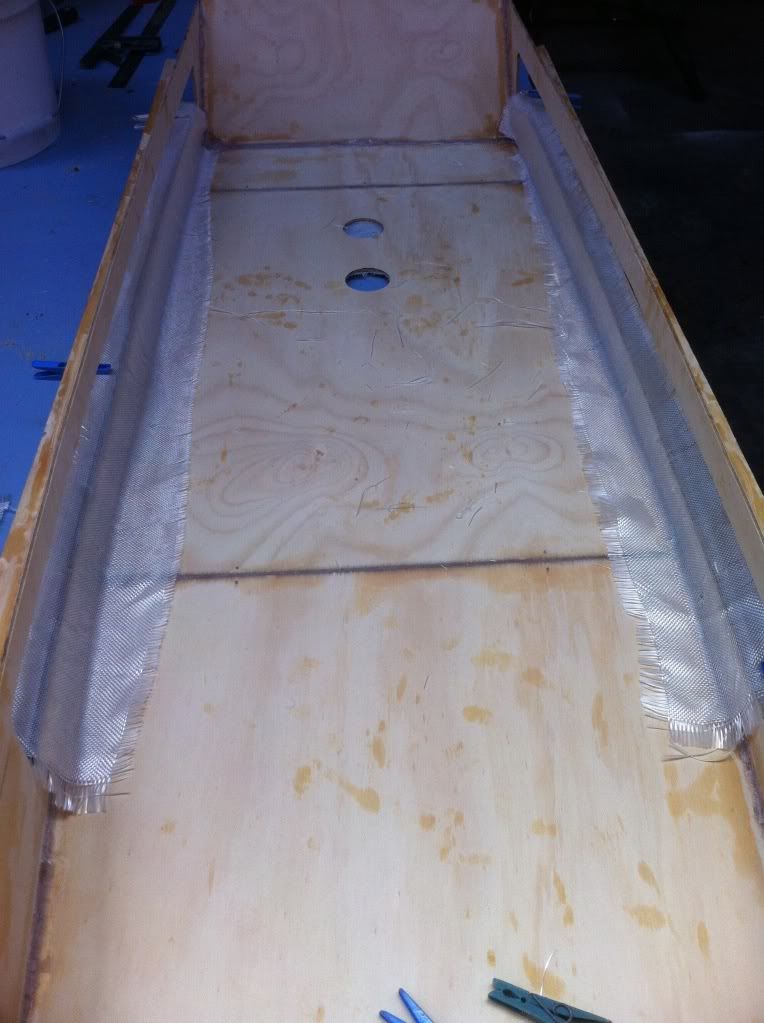
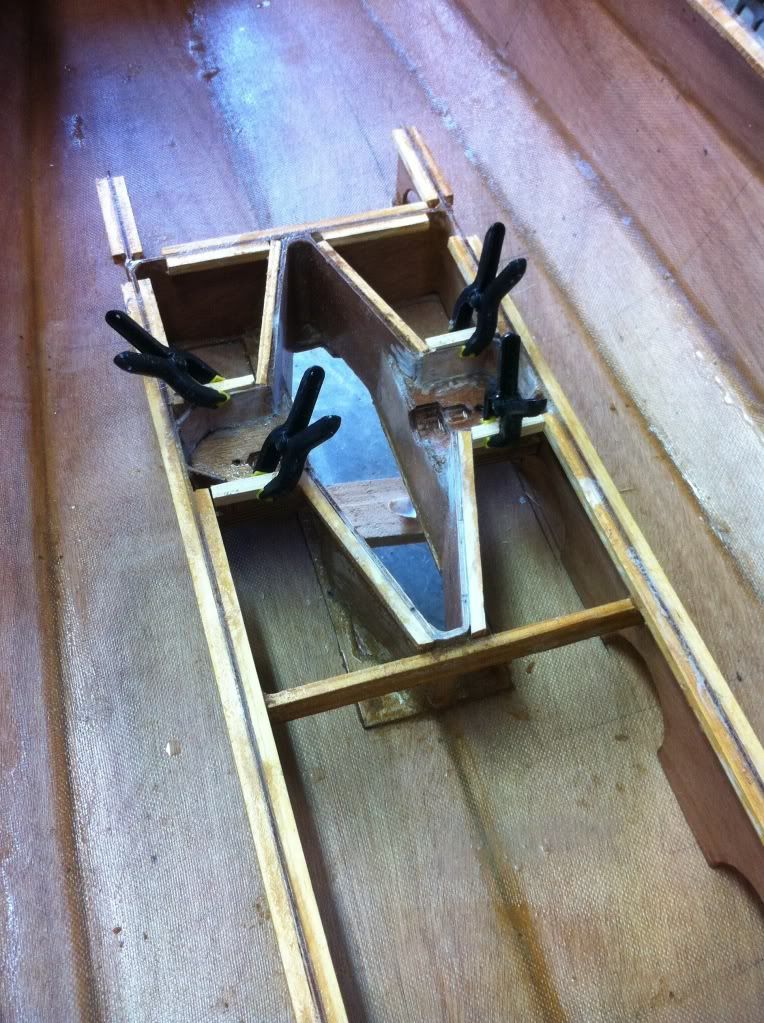
Set up the side sections of the Bait Bin.
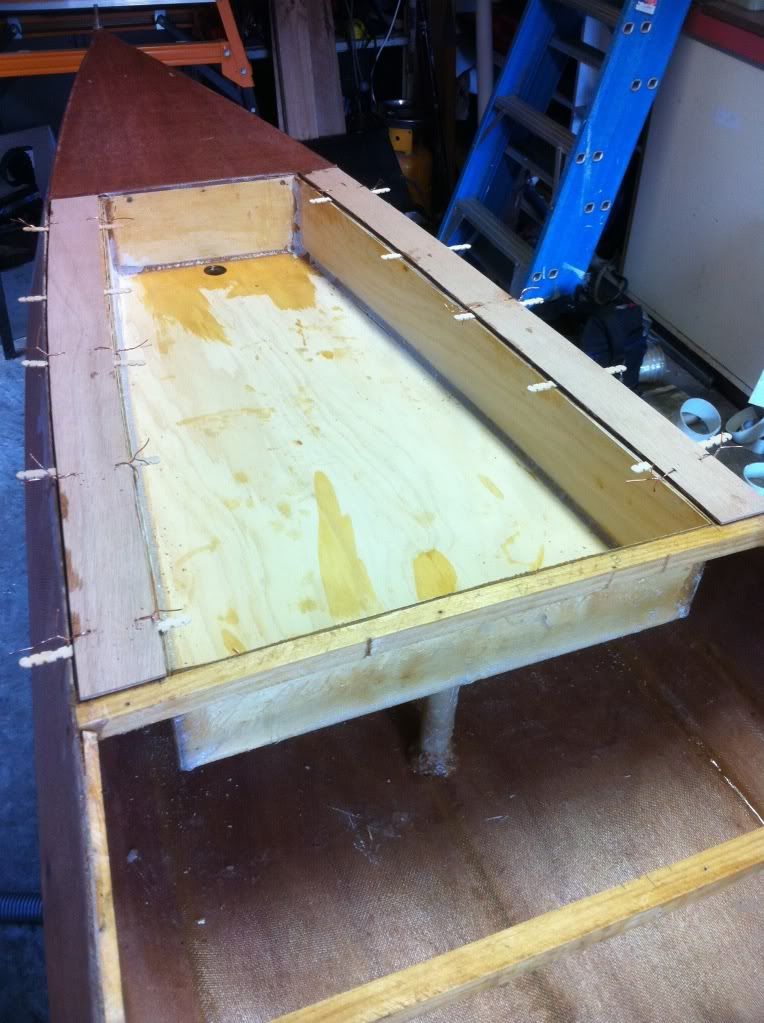
And also added some stiffeners around the Drive Well.
Re: Tassie Wadefish
Posted: Tue Jan 18, 2011 3:11 am
by PiratePete
I got some more done on the boat today.
I cut out the drive well hole in the seat, trimmed up the rod tubes & set every thing in position to see how it looked.
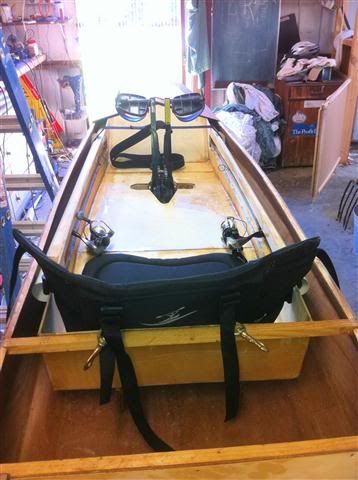
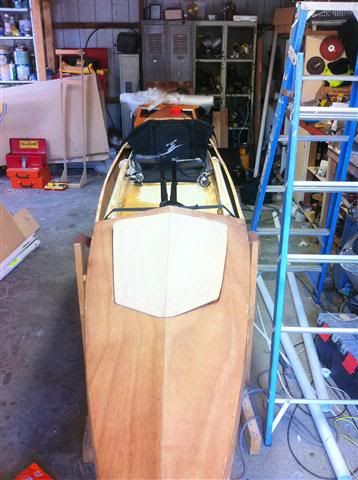
I also completed the rudder assembly & fitted it.
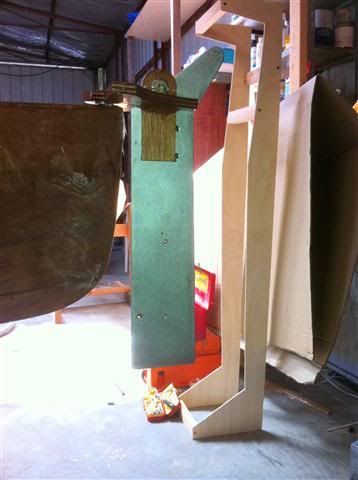
I then glued the hold down bolts for the Hobie Drive with some spacers to hold it in.
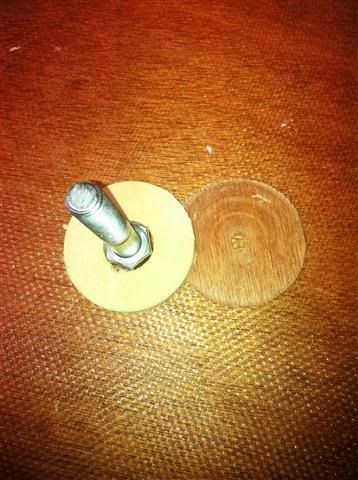
I also glassed the lid to the front bin & glued one of the tubes into place & I will glass it after tea.
Re: Tassie Wadefish
Posted: Tue Jan 18, 2011 6:11 am
by PiratePete
Got the first rod tube glassed in tonight after tea.
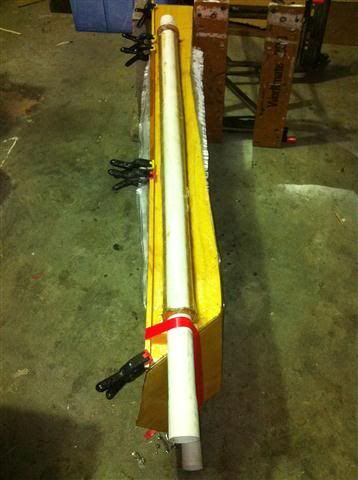
Gave it 2 coats of glass so I hope it will be strong enough.
Re: Tassie Wadefish
Posted: Tue Jan 18, 2011 7:03 pm
by PiratePete
I glued the second side of the rod tubes in this morning & will glass is when the epoxy has started to set.
I also carried the hull outside & did an end pour on the stern.
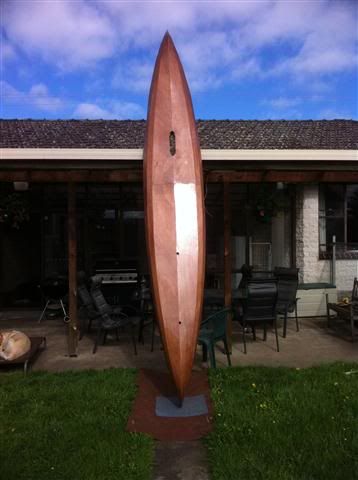
The shiny section of the hull is where I have put on the second coat of epoxy. . . . I goofed & made up too much epoxy & that seemed the best place to put the excess.
Re: Tassie Wadefish
Posted: Wed Jan 19, 2011 10:31 pm
by PiratePete
I set every thing back up & Tested it out on the shed again today.
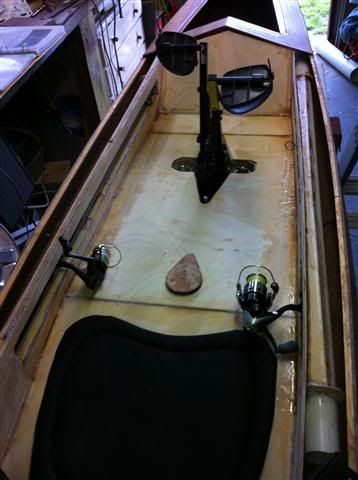
Every thing seems to fit OK.
& it also feels OK
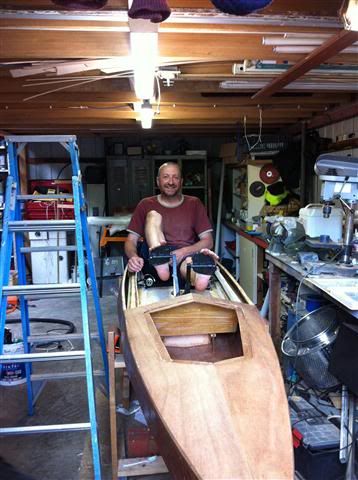
So the seat is now ready to be glued into place.
Getting closer every day now

Re: Tassie Wadefish
Posted: Wed Jan 19, 2011 11:13 pm
by craiggamesh
This looks great. I cant wait to see it on the water and see how that mirage drive works. After seeing this build, and looking at CC TX's Sabalo, I am thinking that I may need to do an upgrade to my Sabalo.

Re: Tassie Wadefish
Posted: Thu Jan 20, 2011 2:48 am
by PiratePete
craiggamesh wrote: I am thinking that I may need to do an upgrade to my Sabalo.
Thanks craiggamesh.
It would be a big job to get the seat well back out if its built the same way the Wadefish is.
