Some more pics of yesterday's effort. Gee there certainly is alot of work in these Sabalos, but I'm very happy with how it's going so far, for a newbie. I think there are a couple of things I would do different next time, such as work out the placement of the stitches in relation to the tank well frame cut-outs. As you can see I had to hack a bit away to make the frame fit snug.
I set up the deck panels to see how it would look. My wife came and had a look and wondered if I was going to leave her to sail around the world in this thing! It does look huge in my small carport.

The stern section. This is going to be a little fiddly to get right, but at least the panels finish flush with each other and the gaps aren't too big to fill. I'm glad I used the 3.2mm Oukume, it's nice and flexible and very forgiving if things don't line up exactly.

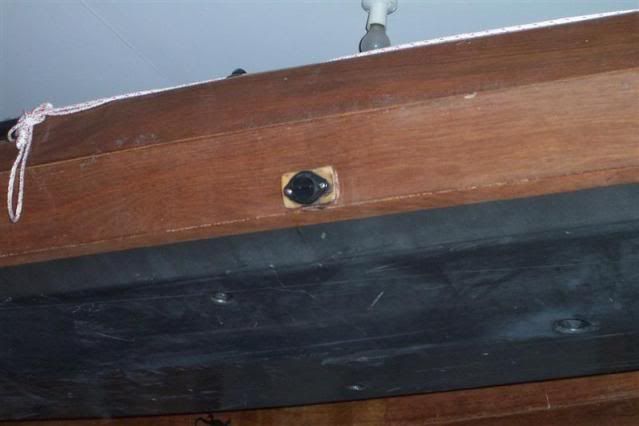
This is going to be my mid-deck coolbox/fish keeper. Thanks Matt for the dimensions of the forward panel for this. I intend to line it with styrofoam and glass it to make it totally water tight. I will need to install a drain plug on one side though to drain out melted ice, and to make it easy to clean out.

These two shots show where I needed to cut out some bits from the frame to make room for the stitches and spacers. Not too bad but a bit of a hack job. Good thing it's not in a 'public viewing' area.


This is the tacking of the cockpit area. I was going to just make small tacks but I decided to do most of the fillets to make it stronger. I left it till now to set up the cockpit because I was worried that it might be out of square, but it's almost perfect, about 5mm out between the two diagonals. For the fillets I just used my finger, I find that the tighter angles are best done this way. I need not have taped around the seams, the fillets are pretty neat and not as wide as I thought. I will finish off the fillets when I remove the stitches, and tape the seams.