This is a little trick I used in building my WF2.0 so far.
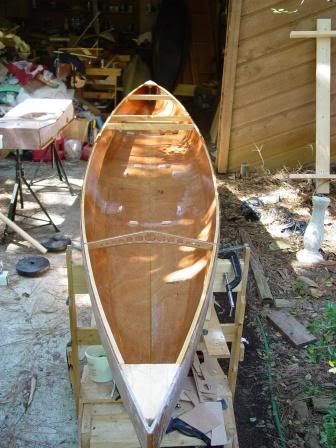
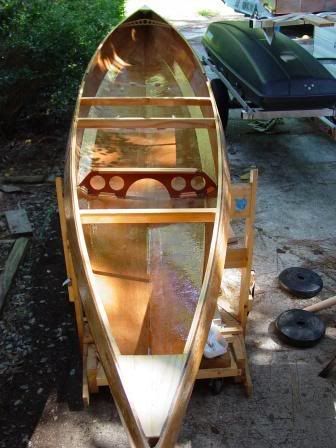
The instructions state that once the outside of the hull is all tabbed with the stitches removed, you can trim the "ears" off of the lateral frames of the cockpit frame. I found that there was just enough spring in the hull that by being careful I could remove the cockpit frame with out any trimming. (I traced the edges off both the longitudinal and lateral frames on to the hull while everything was stitched up). Then once the inside was all glassed, I could carefully re-install the entire cockpit frame back into the hull, re-locate the CP frame to my lines. Ran a tie-down strap around the hull at the laterial frames and snugged them to take the spring back out of the hull and then the CP frame was in snug. Then after I checked to make sure all the deck panels and every thing was falling where they should, removed the CP frame and wrapped the edges of the lateral and longitudinal frames where they touched the hull with packing tape. Then put the CP frame back in the hull, and snugged up the straps again. The I took 8 of the cleats that I will be using to secure the CP frame to the hull and epoxied them to the hull
(Not to the CP frame), two along the outside of both longitudinal frames (went on the "outside" because it brought the top edge of the cleat against the CP frame) and two along both lateral frames.
The only thing important is to be sure than the all longitudinal ones are either inside or outside, same with the lateral ones. If they are one set inside and one set outside the frame is only located in one direction, free to slide to other way.
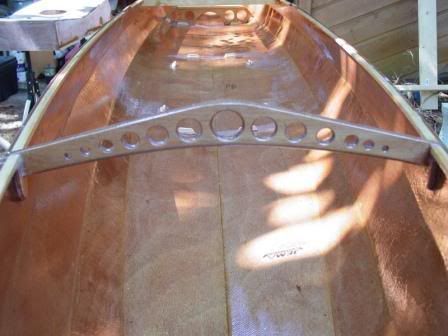
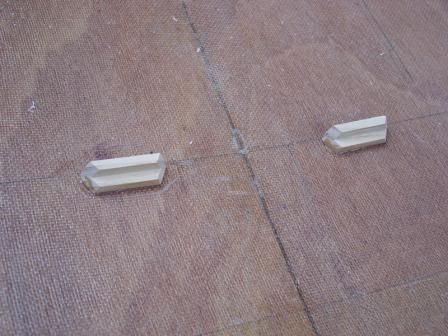
Heres the lateral ones. You can just make out the packing tape on the frame.

After the epoxy cures you can carefull remove the CP frame.
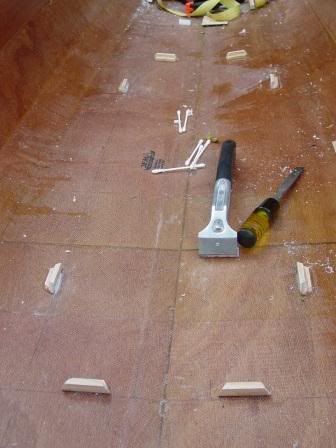
A view of all 8.
Now every time I take the CP frame out and put it back the cleats locate it back in the same position each time, side to side and front to back. A little bit tougher to get the frame in and out while the ears were still on because I had to come up a bit to clear the cleat, but it was still do-able (many times).
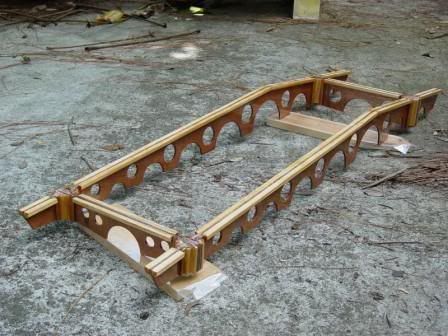
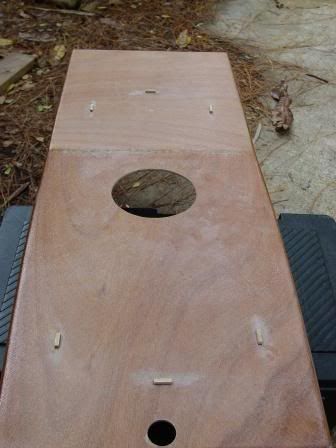
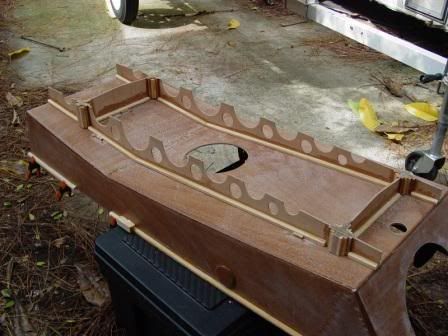
So then I got to thinking, when I cut the ears of the lateral frames what keeps the cockpit in location side to side? The ramp shape takes care of front to back movement. So before I cut the ears off, I turned to CP upside down, wrapped packing tape around the mating edges of the CP frame and the put it on the CP and basically did the same thing, epoxied tiny cleats on to locate it. This time I only needed 6, one at each end (just becuse I wanted them) and two one each side. CP frame in the following picture already have the ears removed, but they where still there when I added them, just no picture of that.
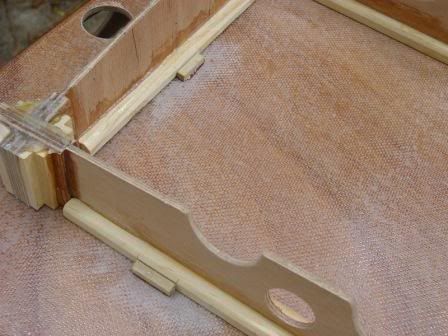
All six.
CP locates itself on the CP frame.
Ok, one big long post should make up for my not posting for awhile.

DM